Fabric swatch coin purse tutorial.

How to sew a coin purse from a fabric swatch.
In this tutorial, I'll show you how I made several coin purses from fabric test swatches and teach you how to make one too. I recommend reading through the whole tutorial before you start.
Choosing your swatch fabric.
First, choose your fabric and get all your materials together.
You will need:
Chosen patterned fabric, ideally 30cm x 30cm.
11 cm zip (this is the minimum to allow cards to fit horizontally in your finished purse).
Scissors.
Thread suitable for a sewing machine.
Sewing machine.
Pins.
Iron.
Pen/chopstick/knitting needle.
Optional extras:
Fabric lining (you can use the same fabric as the outside, or any leftover fabric you have).
Stiffened fabric (I used some leftover aida fabric on some of the purses to make them more sturdy) or some iron on interfacing.
Extra strip of swatch fabric (if you want to add a tab to your finished purse).

Laying out your materials.
When I was deciding which company to use for fabric printing and selling my designs online, I ordered several test swatches to check the quality of the fabric. A test swatch is usually a 20cm x 20cm print out of your chosen fabric design. Once swatches arrived, I knew I wanted to make something with them, so after putting my ideas to a vote on Instagram, I decided to make several coin purses. I ordered a selection of coloured zippers and in the photo above you’ll see me choosing which zips best matched each swatch.
Next, cut the fabric to size. For each purse you will need 2x 13cm x 10cm patterned fabric (the outside), 2x 13cm x 10cm lining fabric, and 2x 13cm x 10cm stiffened fabric (if you wish). These measurements allow you 1cm seam allowance around the edges, but if you are worried about it being tricky to fit a bank card in your finished purse, then cut the fabric slightly larger and allow for bigger seam allowances too to make it easier.
You may have worked out by now that my measurements don’t add up to a 20cm x 20cm swatch. You’re right! The seam allowances went over onto the unprinted section of the swatches so that I could use the maximum amount of printed fabric and keep the purses big enough for a bank card.
For the lining I used leftover fabric from the edges of the swatches and also cut up a fabric envelope I had lying around that a set of pillow cases had been packaged in. It is best if you use the same type of fabric as the outside. I used 100% plain cotton. As mentioned above, on some of the purses I added an extra layer of stiff fabric to help them keep their shape. The extra layer meant the seams were a little bulky on those but I do like the sturdy look to them.
Sewing the lining to the zip.
Sewing the lining & the zip together.
For the purposes of this tutorial, let’s assume you are lining your coin purse. It gives a really clean and polished look on the inside. (Think more pro, less handmade).
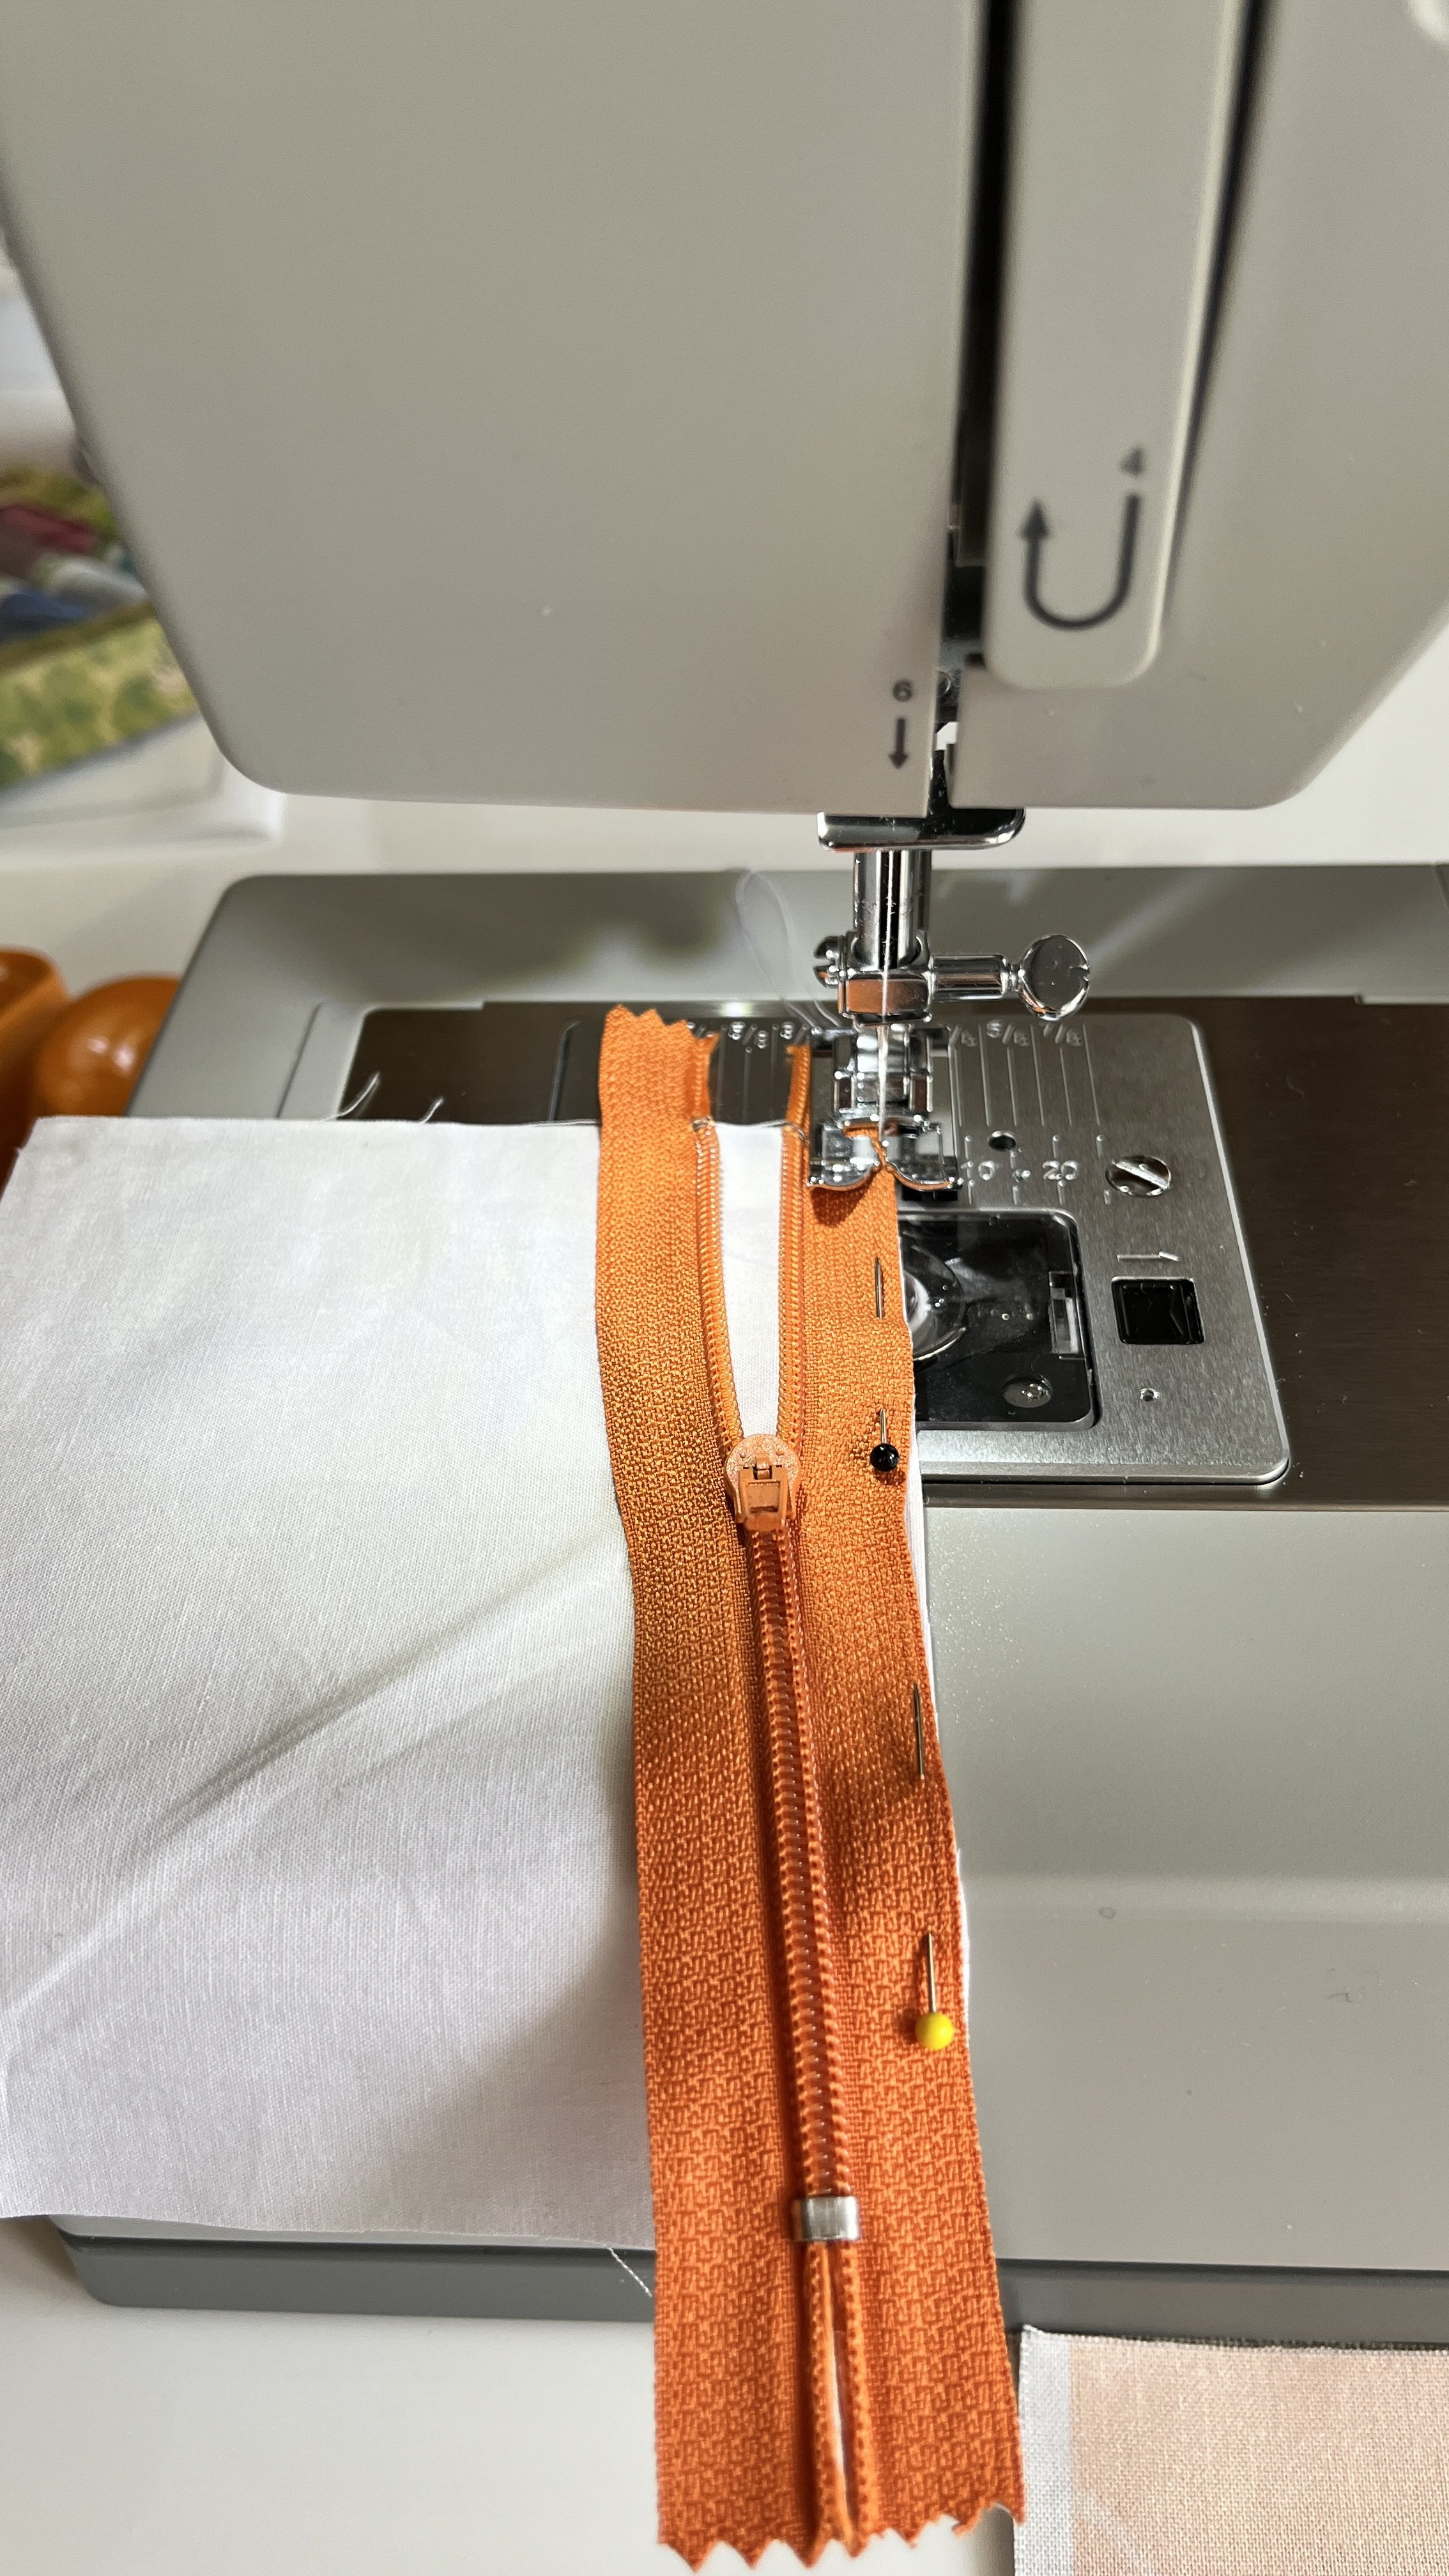
Line up one edge of the zip with the edge of one piece of lining, as in the photo above. Use pins to hold them in place and remove them as you sew so that the machine needle does not sew over or hit them which could cause the needle to bend or snap.
Sewing the swatch fabric to the zip.

Keeping the lining and zip in place, lay the patterned swatch fabric face down top and line up the edges. If using extra layer of stiffened fabric, add this on top too (this is the beige fabric in the photo above). Pin and stitch together, keeping your line of stitching slightly to the left of your first line, that way the lining seam will be invisible later on.
Repeat on the second side.
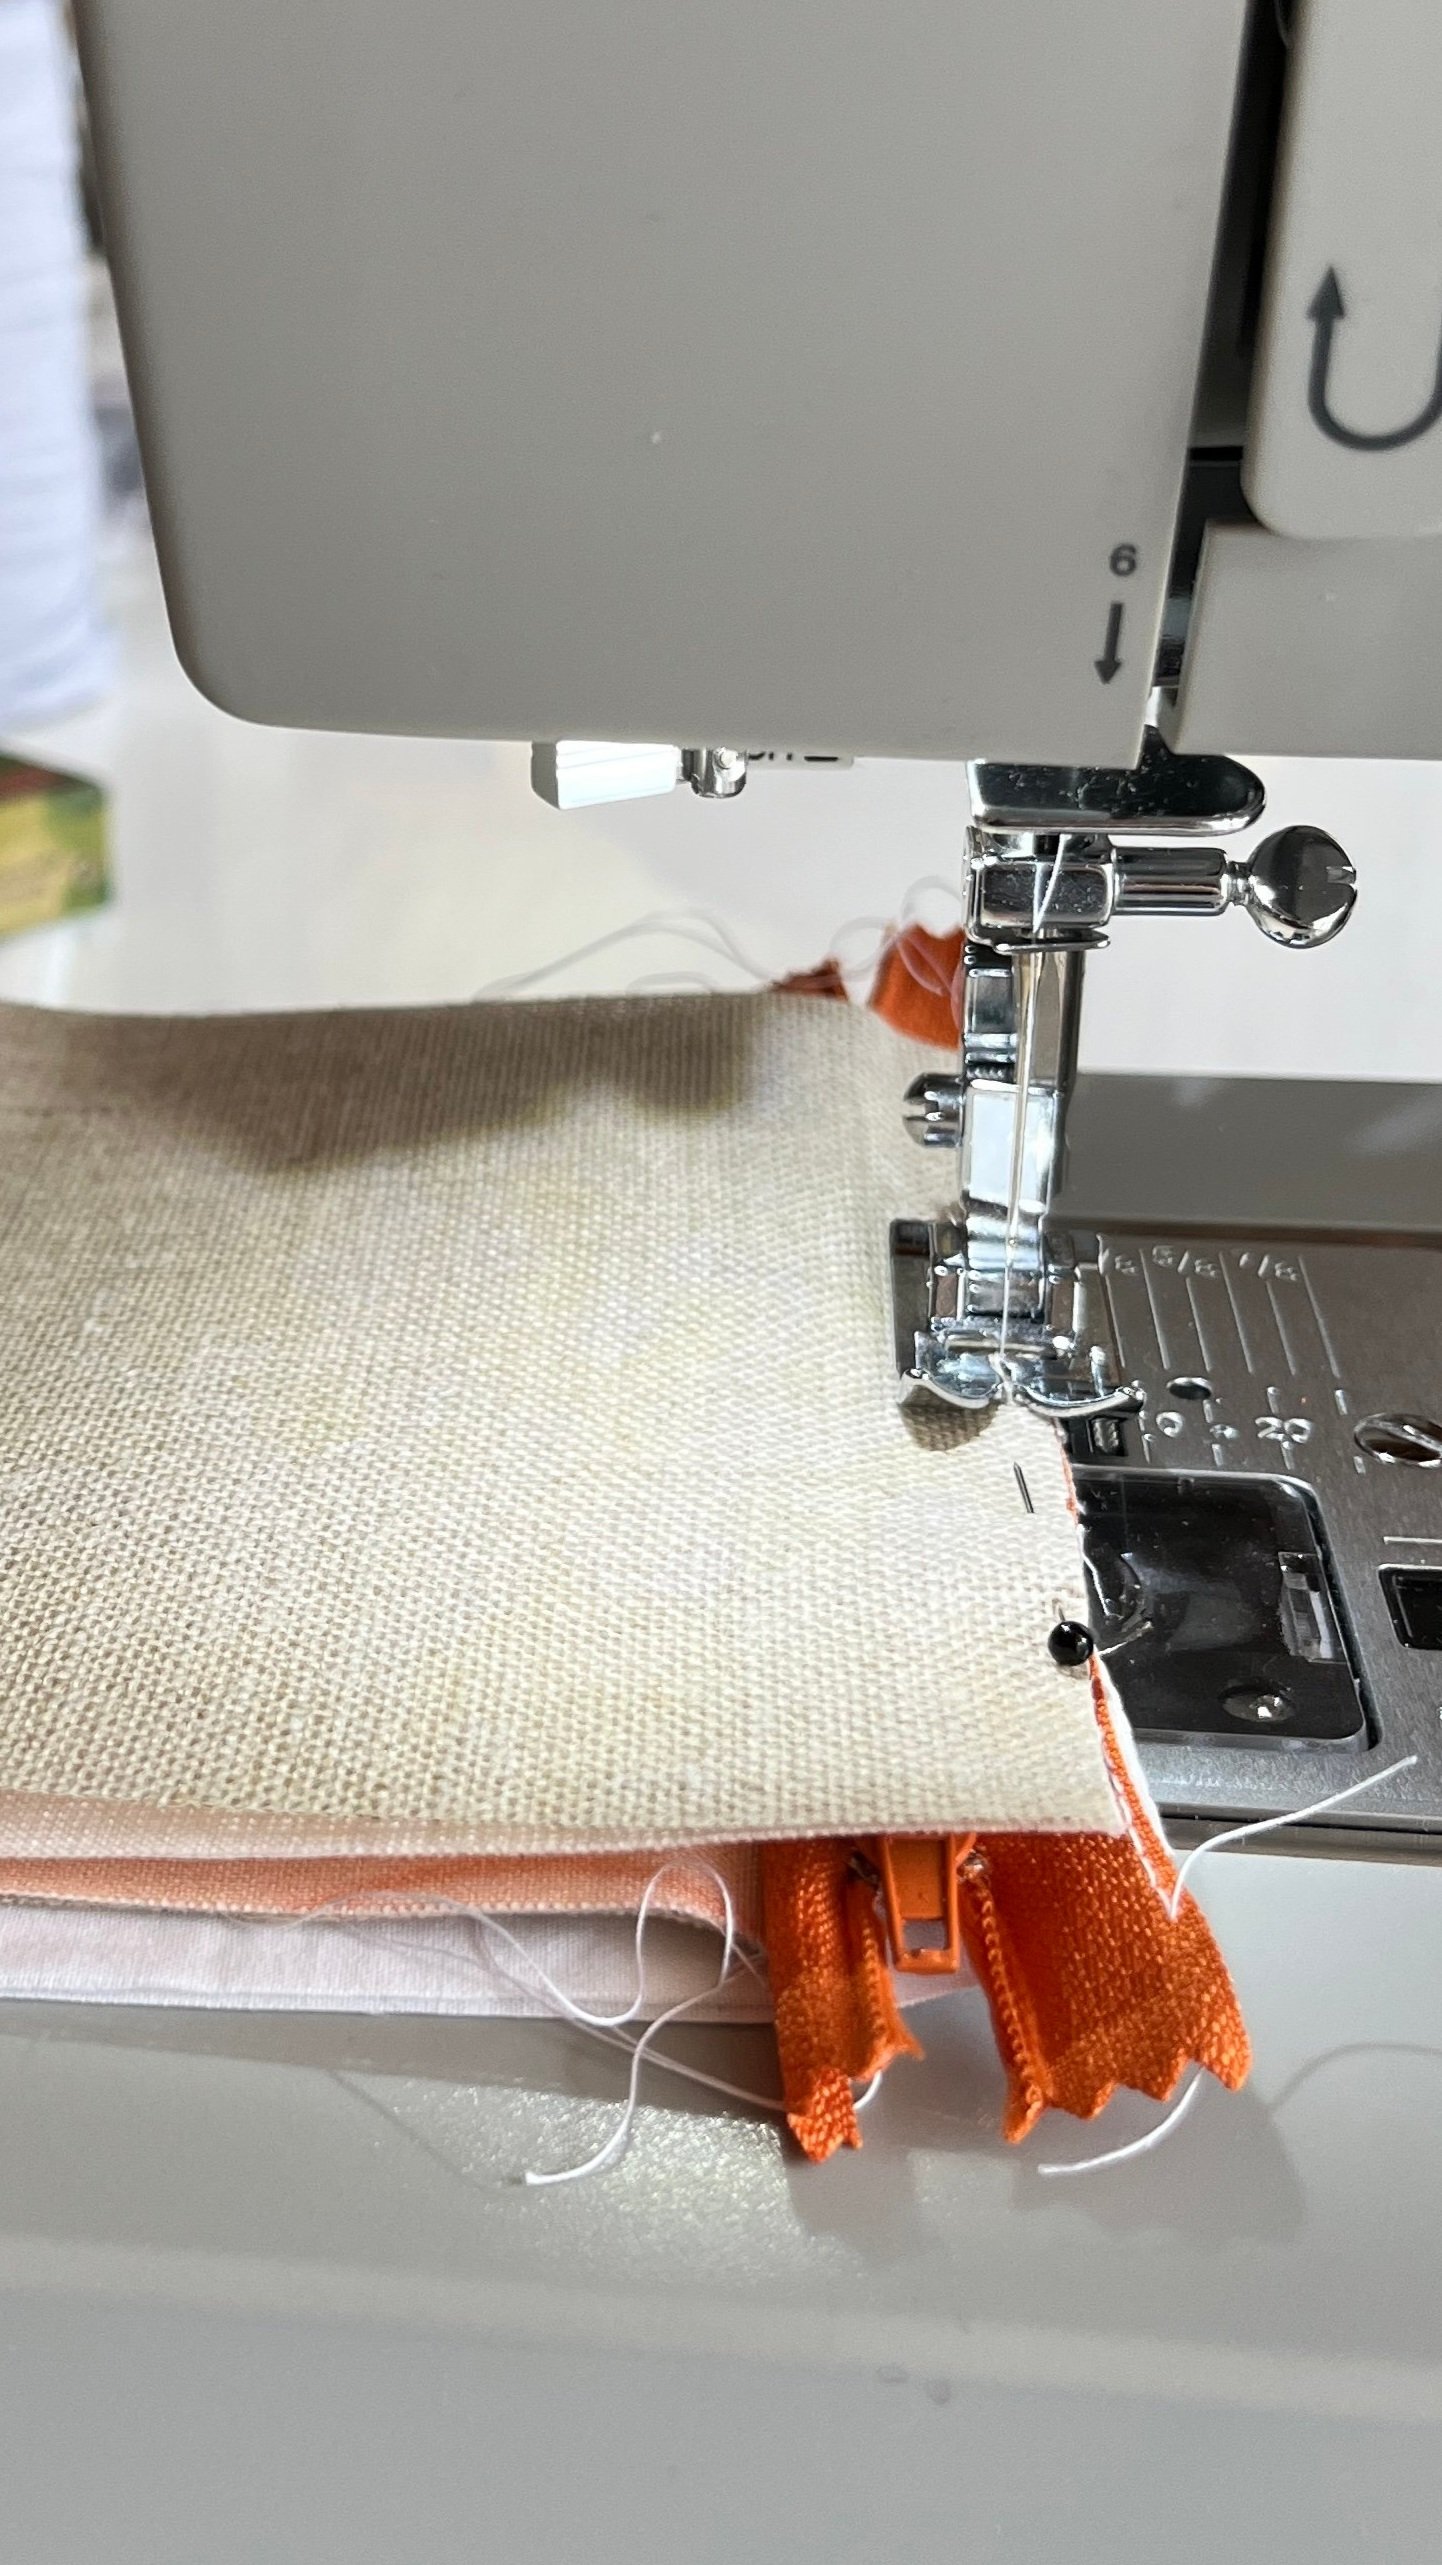
Sewing the second side of the zip.
Now turn the zip around so that the free edge is on the right and move the attached pieces of fabric to the left so they are out of the way. Repeat the two steps above to first attach the lining, and then the outside swatch fabric. In the photo above you can see the line of stitching where I have attached the second piece of lining, and then pinned the swatch fabric and stiffener over the top.
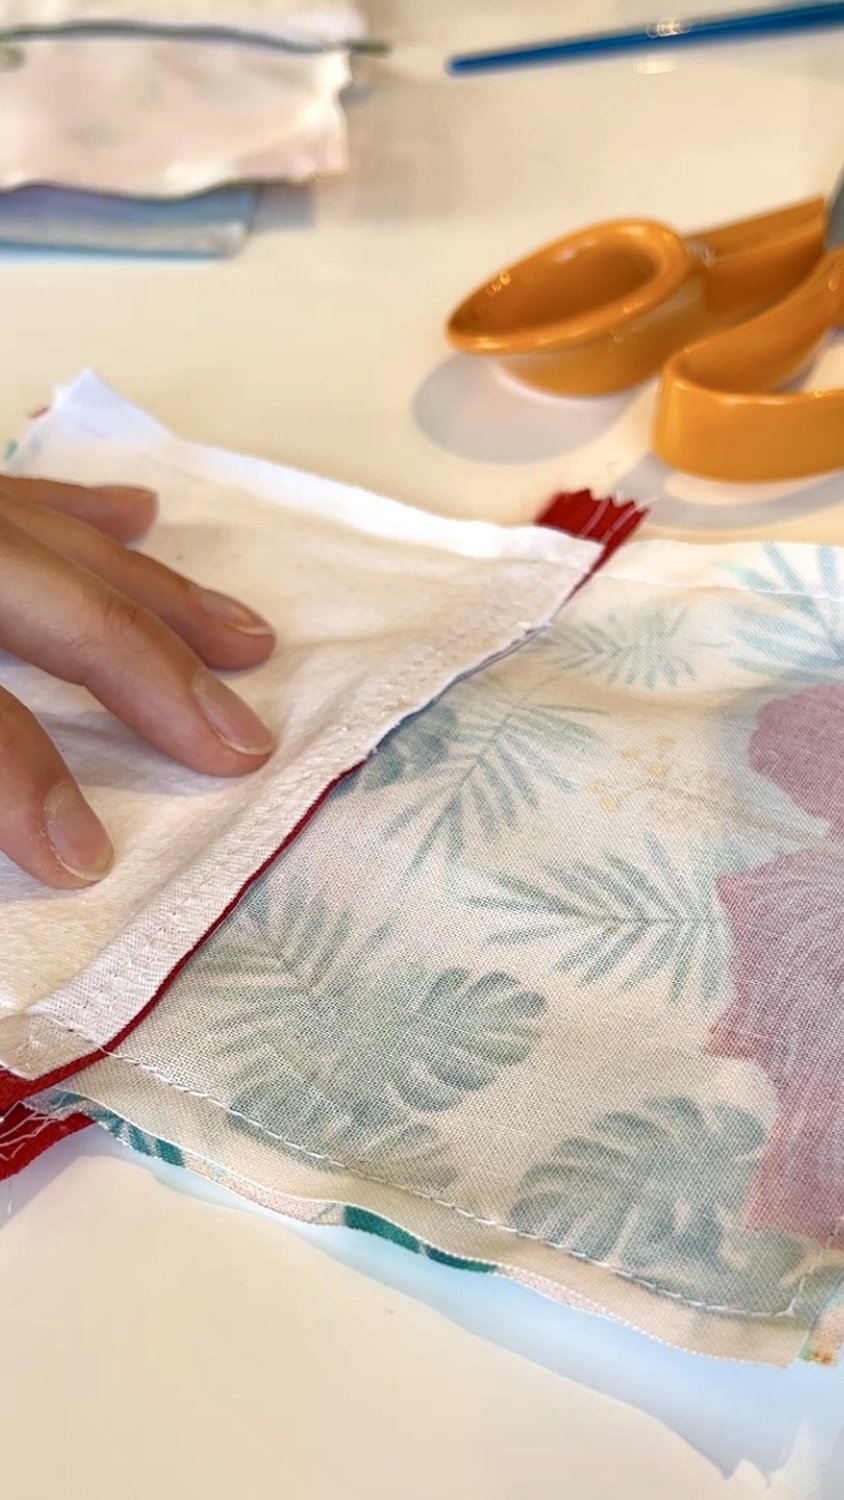
Topstitching around the zip.

Topstitching.
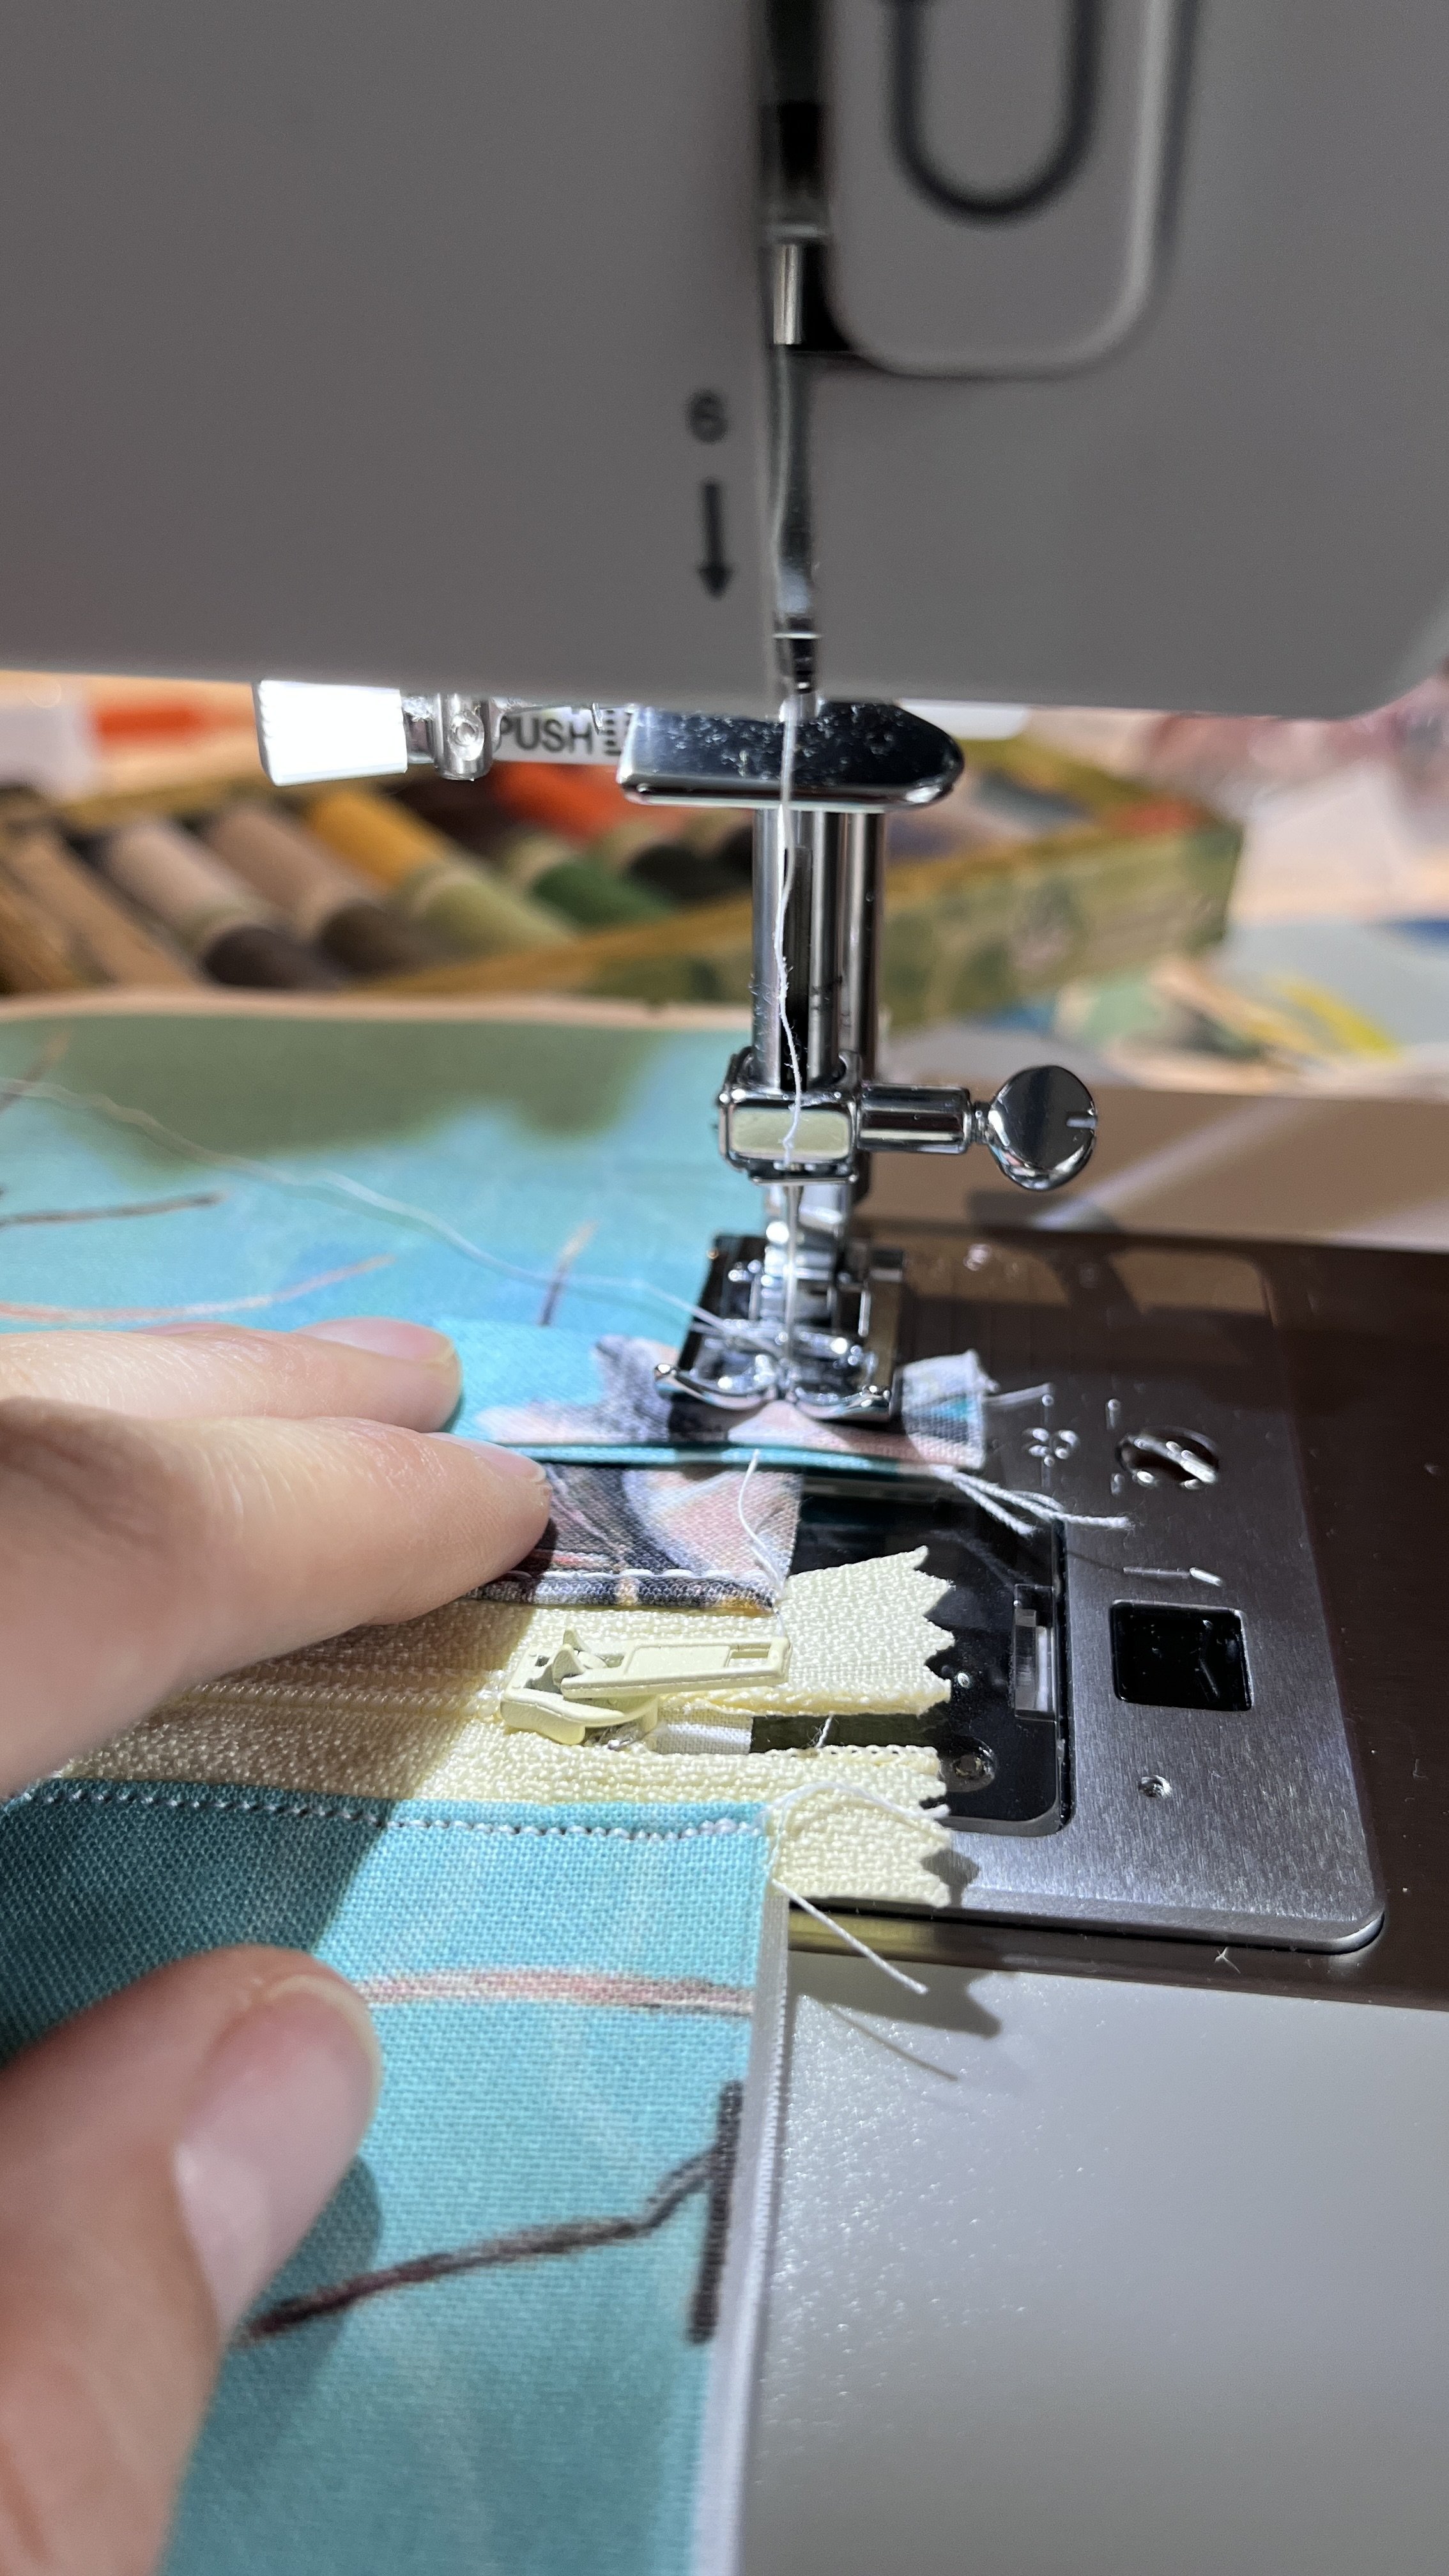
Separate the piece of fabric so they are on their correct sides of the zip, and iron them to create a crisp edge around the zip. Then sew one straight line along each side of the zip. This is called topstitching, and hides the lining stitching if any was showing through in places, and gives a better finished look.
As you sew the topstitching, you will need to pause and move the zipper along, or it will get in the way and disrupt your clean line of stitching. See the photo below.

Move the zipper along when topstitching.
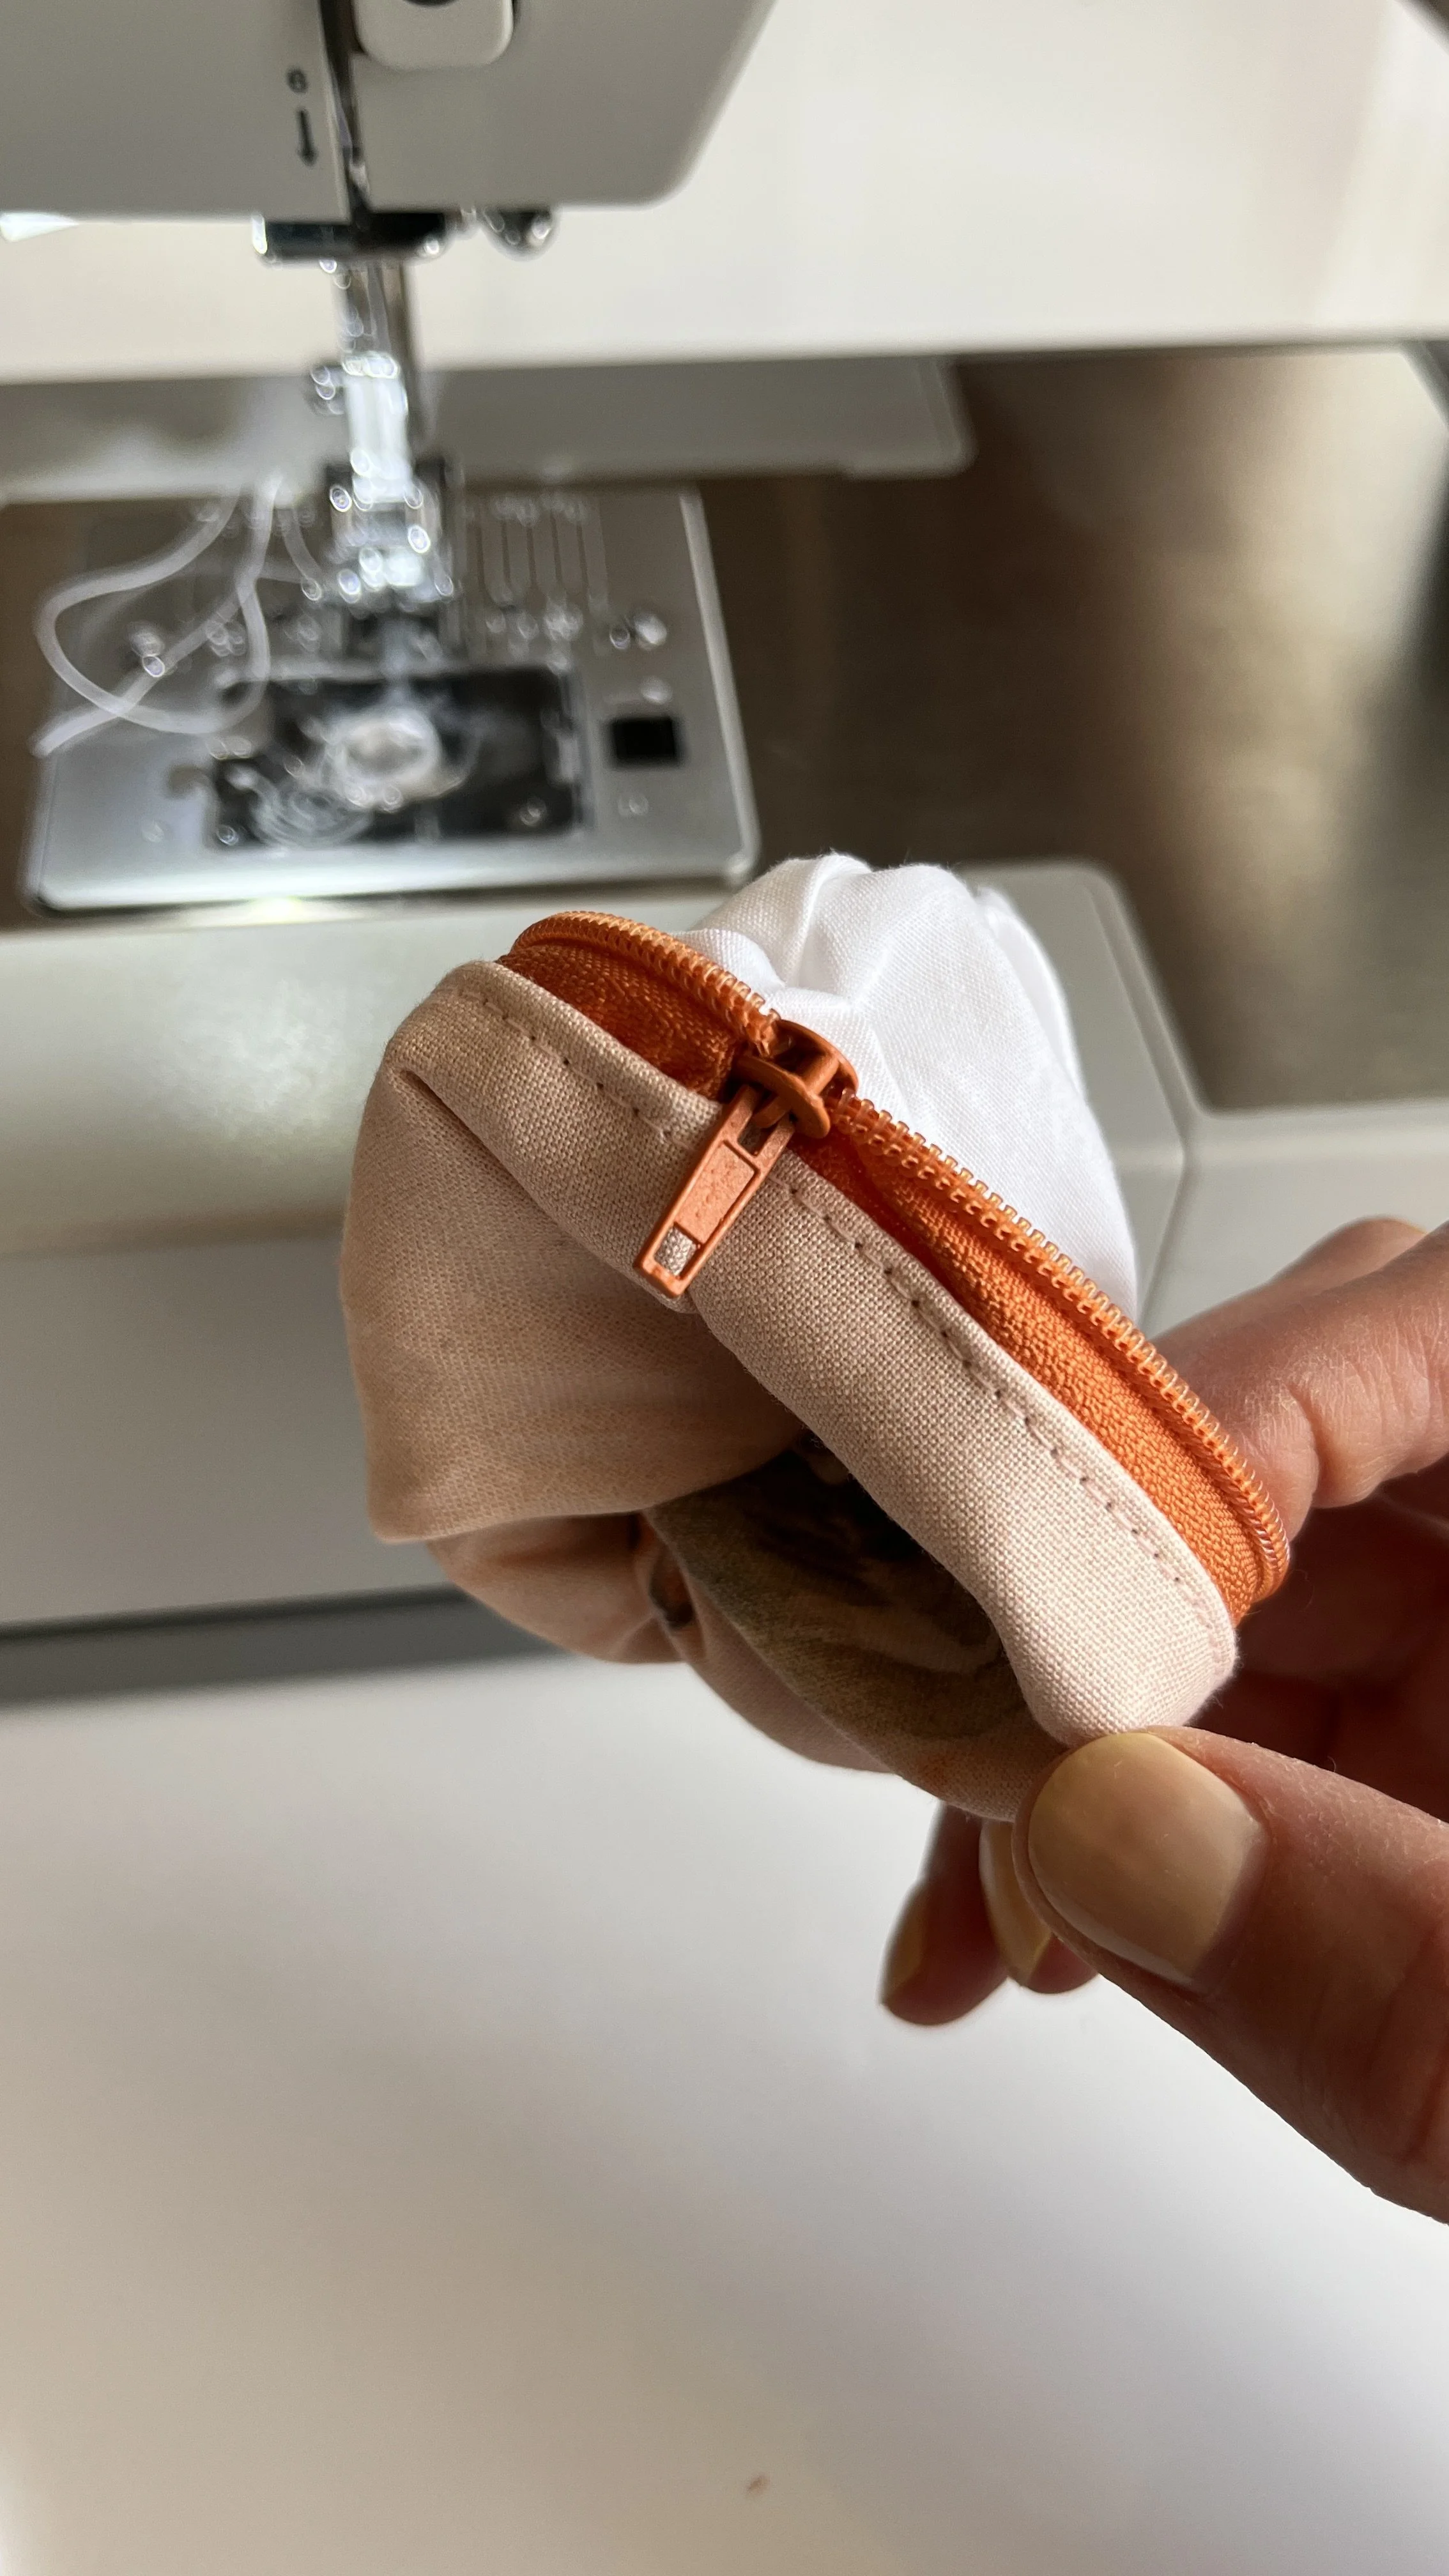
Adding a tab.
If you would like to add a small tab to your coin purse, now is the time to do it. This could be to add a keyring or simply for decoration.
To make a tab, take a long rectangle of extra swatch fabric and fold it long sides together, with the patterned side facing in. Sew down the long side and then turn it right side out.
Fold the tab to your desired length and place on the edge of your purse with the ends facing out as shown in the photo above. Don’t place the tab too close to the zipper, or it will make it quite bulky. Sew along the edge of your purse, attaching the tab.
The photo below shows what the finished purse will look like with a tab.

Finished fabric coin purse with added tab.
Sewing the sides together.
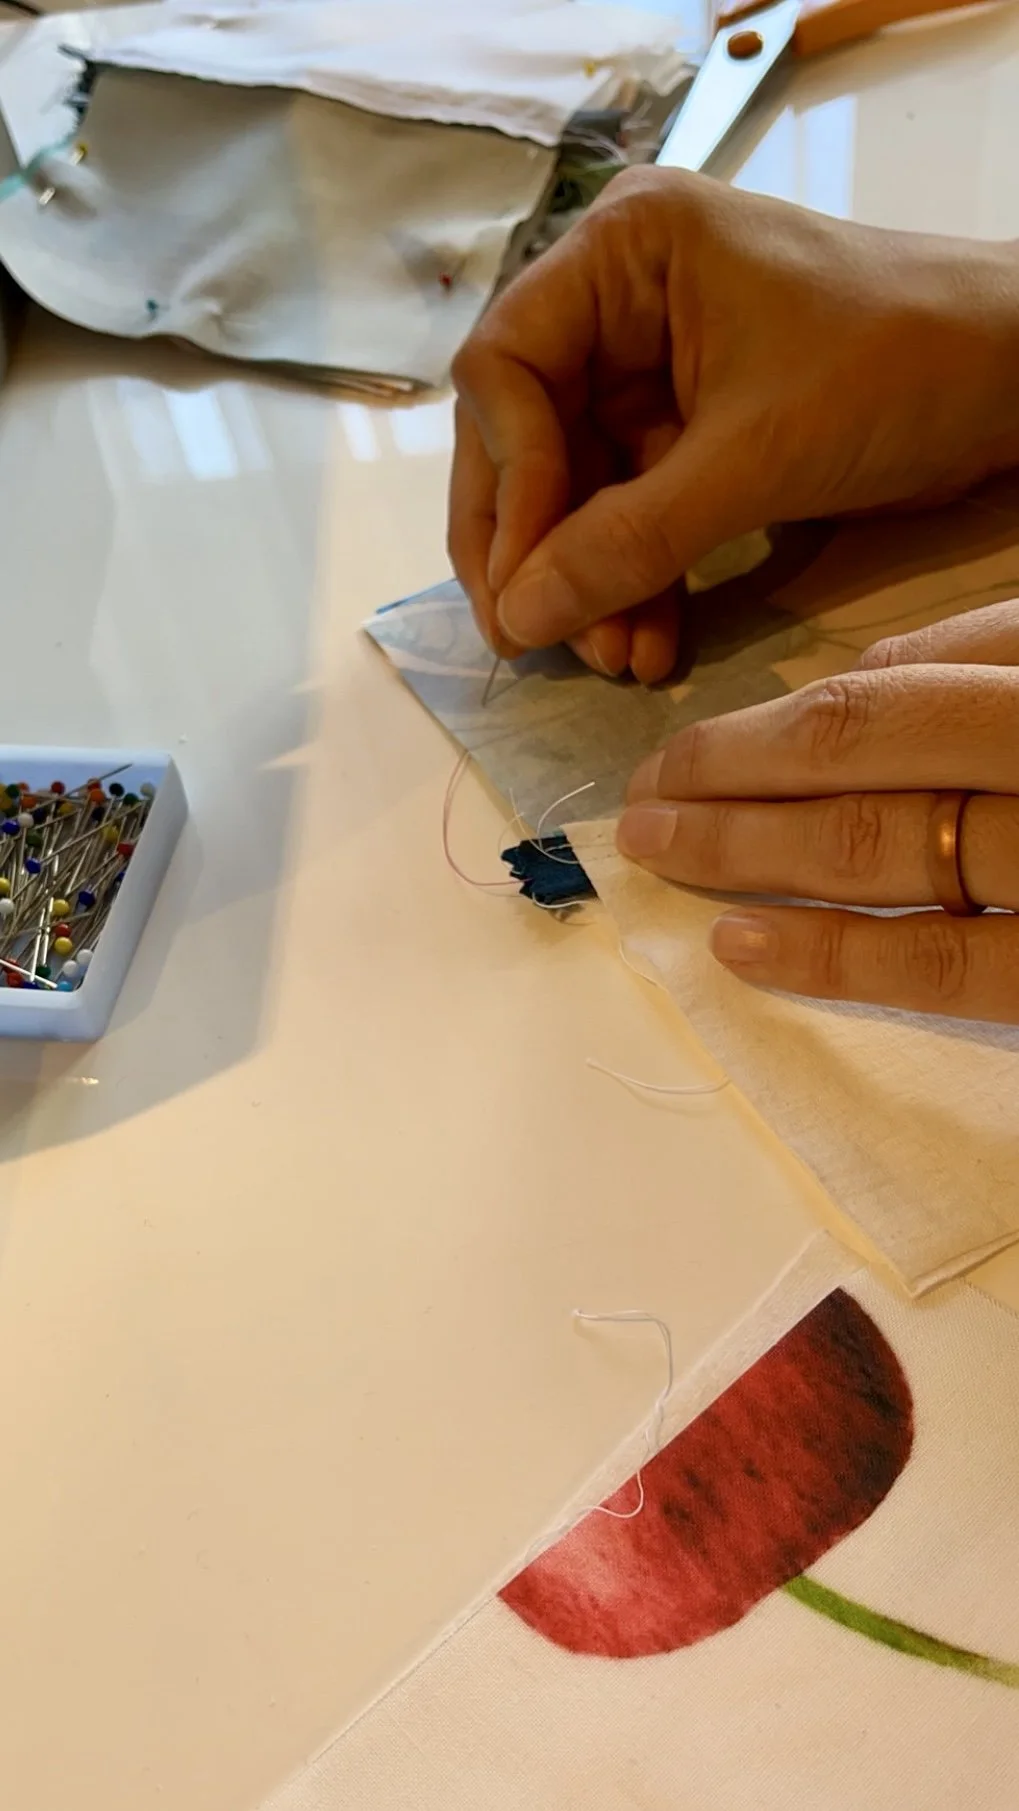
Pinning the sides together.
Now move both outside pieces of fabric to one side of the zip (and the stiffener if using), and the lining pieces to the other side. Pin together. Now sew all the way around the edge, leaving a small gap in the centre bottom of the lining to allow room to turn the purse through (it is currently inside out!). Note: You will find sewing around the edge much easier if the zipper is half closed and therefore in the middle of the fabric, rather than at one end.
Sewing the edges of the fabric swatch purse.
Sewing the lining closed.
Turning the purse through.
Now turn the purse through the space left in the lining. Poke the fabric into neat corners using the end of a pen/chopstick/knitting needle. Basically something that won’t leave a mark and is blunt enough not to poke through and damage the fabric.

Sewing the space in the lining closed.
Iron each side and then sew a straight line along the bottom of the lining, sewing the hole closed.
Tuck the lining inside the purse, again poking out the corners so they lie flat and neat.
Finished coin purse.
And there you have your finished coin purse! I hope you enjoyed sewing along with me. If you have any questions about the tutorial, send me a message at victoria@alpinetonesillustration.com
If you would like to purchase any of the fabrics featured in this tutorial, you can find them on Woven Monkey. (I will earn a small commission when you purchase any fabrics with my designs).
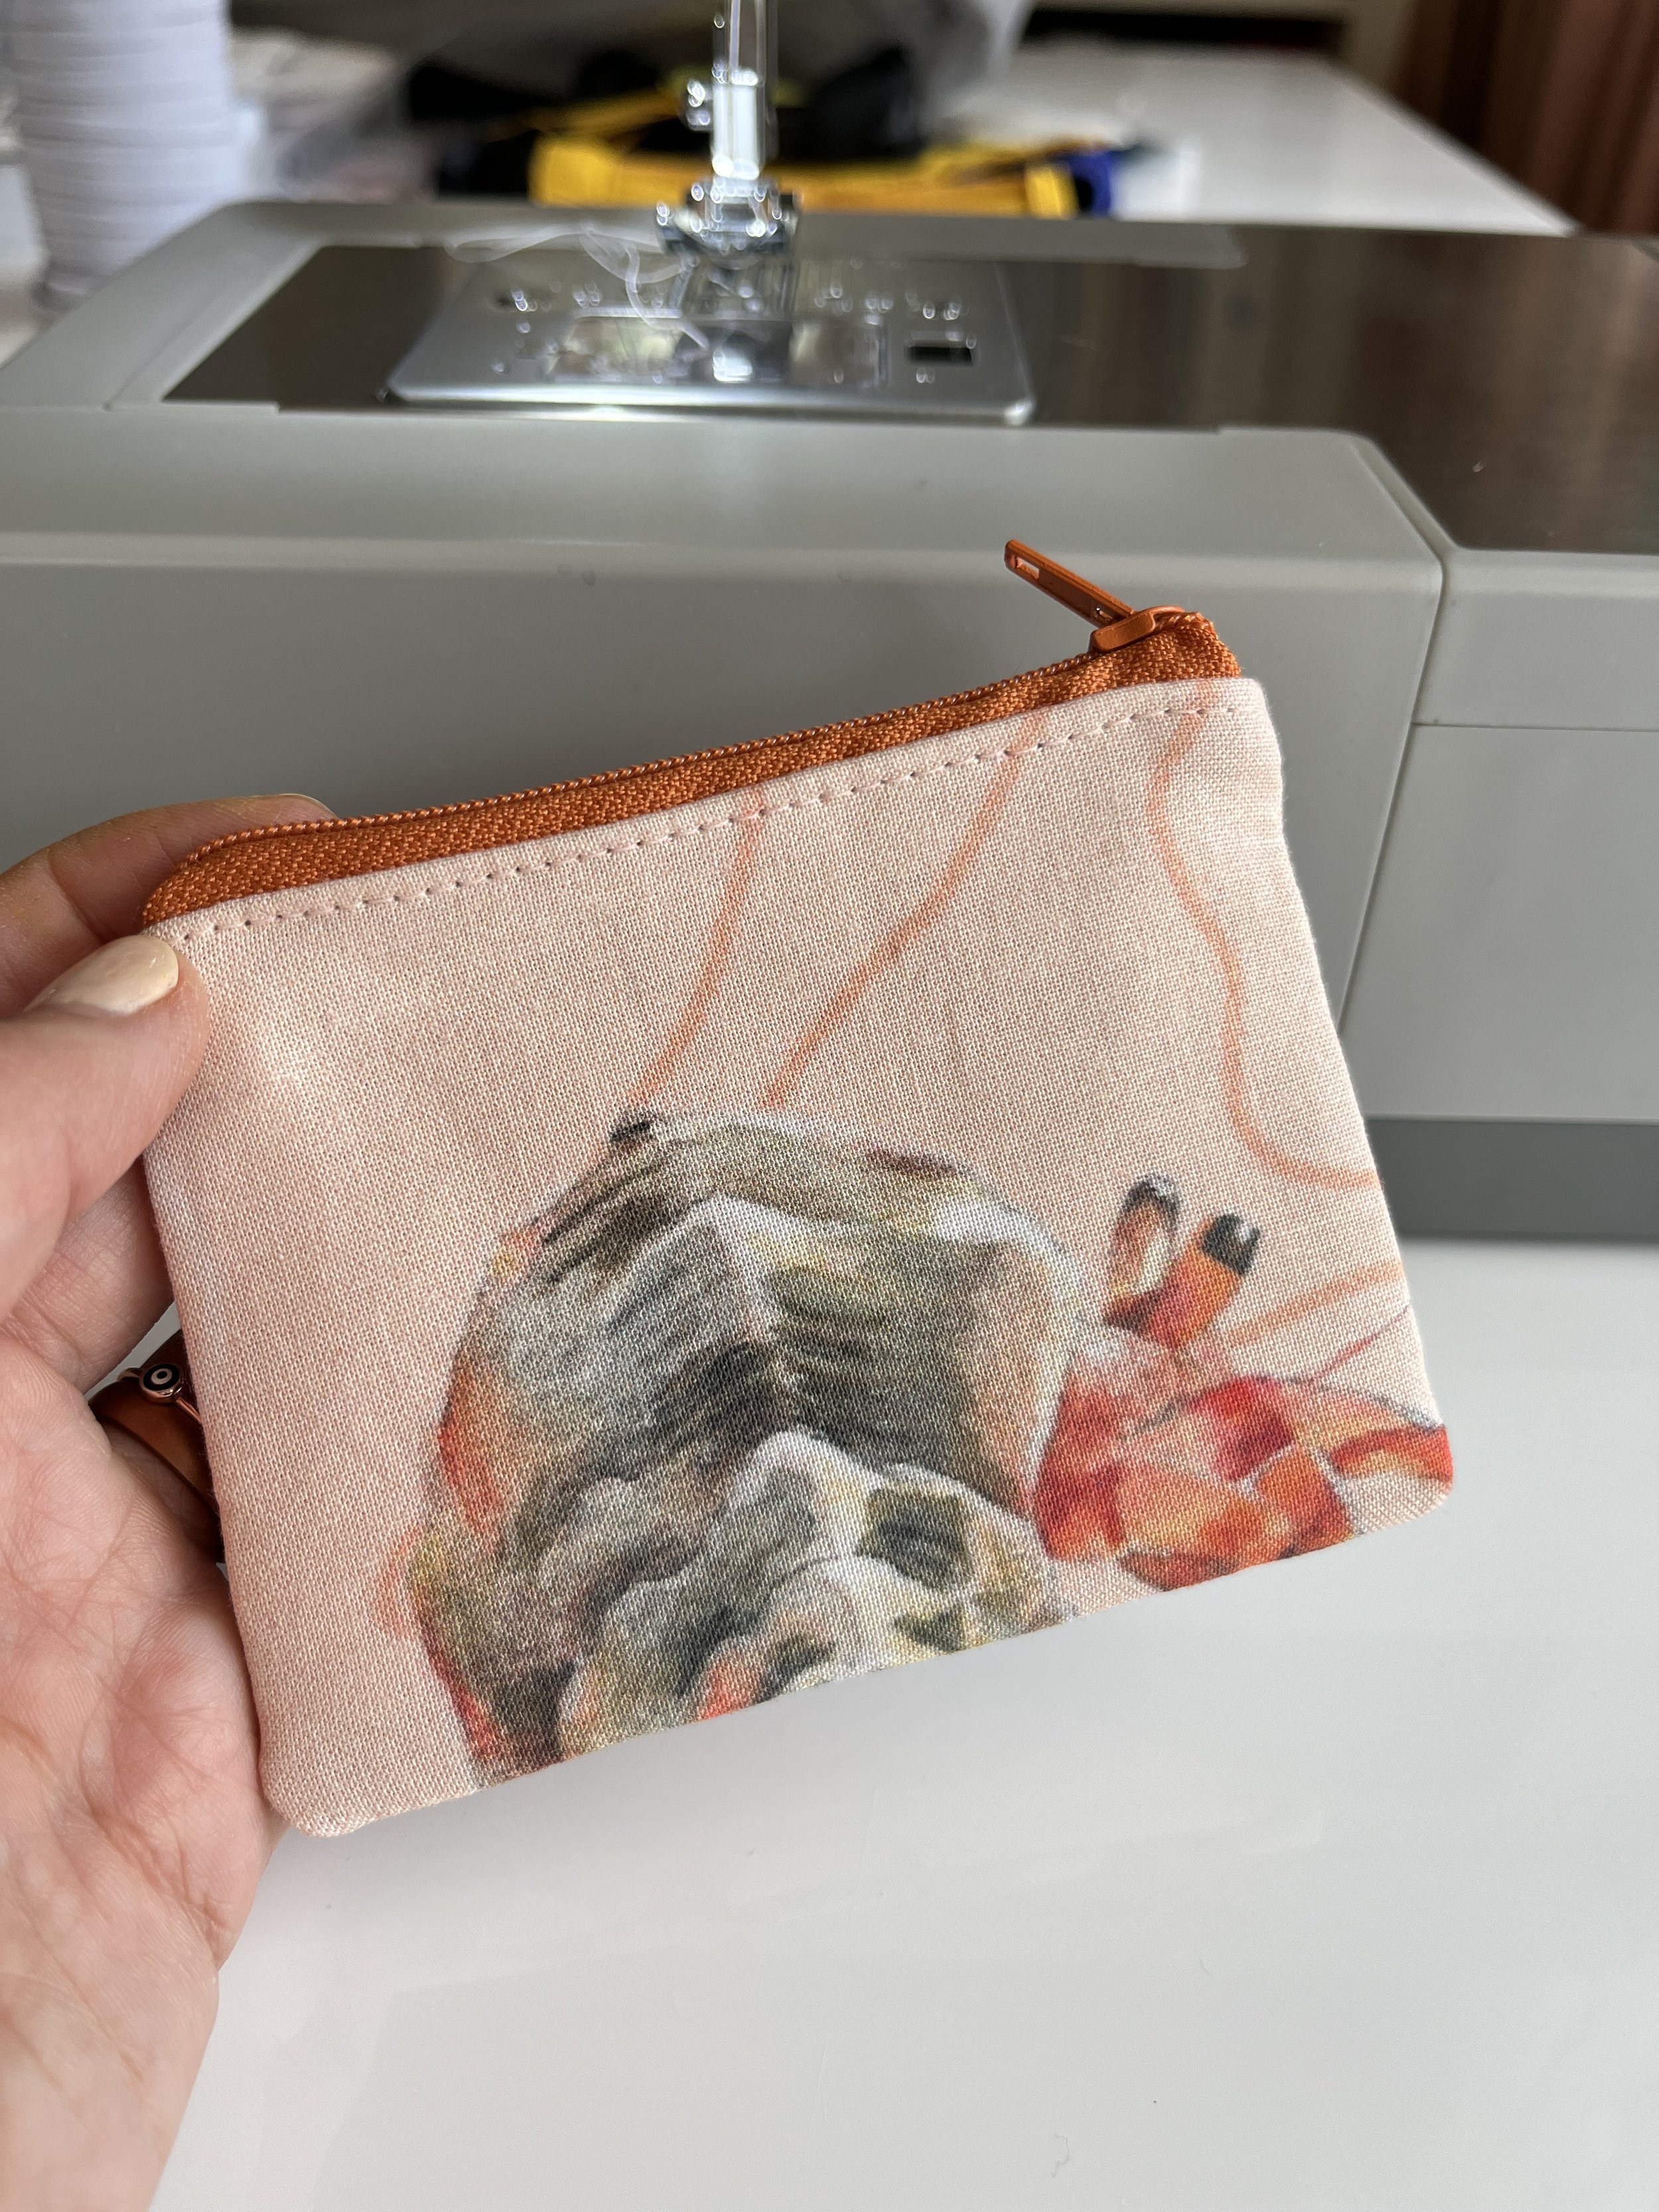
Finished hermit crab coin purse.

Finished coin purses made from fabric test swatches.
All the coin purses pictured in this blog post have now been sold. However I do have some Angelfish and Butterfly ones available in store.