Sewing a Dungarees Dress

Last summer I made a pair of trousers and a skirt, so this year I decided it’s dresses!
When I made the pair of trousers last year, I didn't quite follow the pattern… They worked out great, but this time I was hoping to do better. Read on to see how I got on!
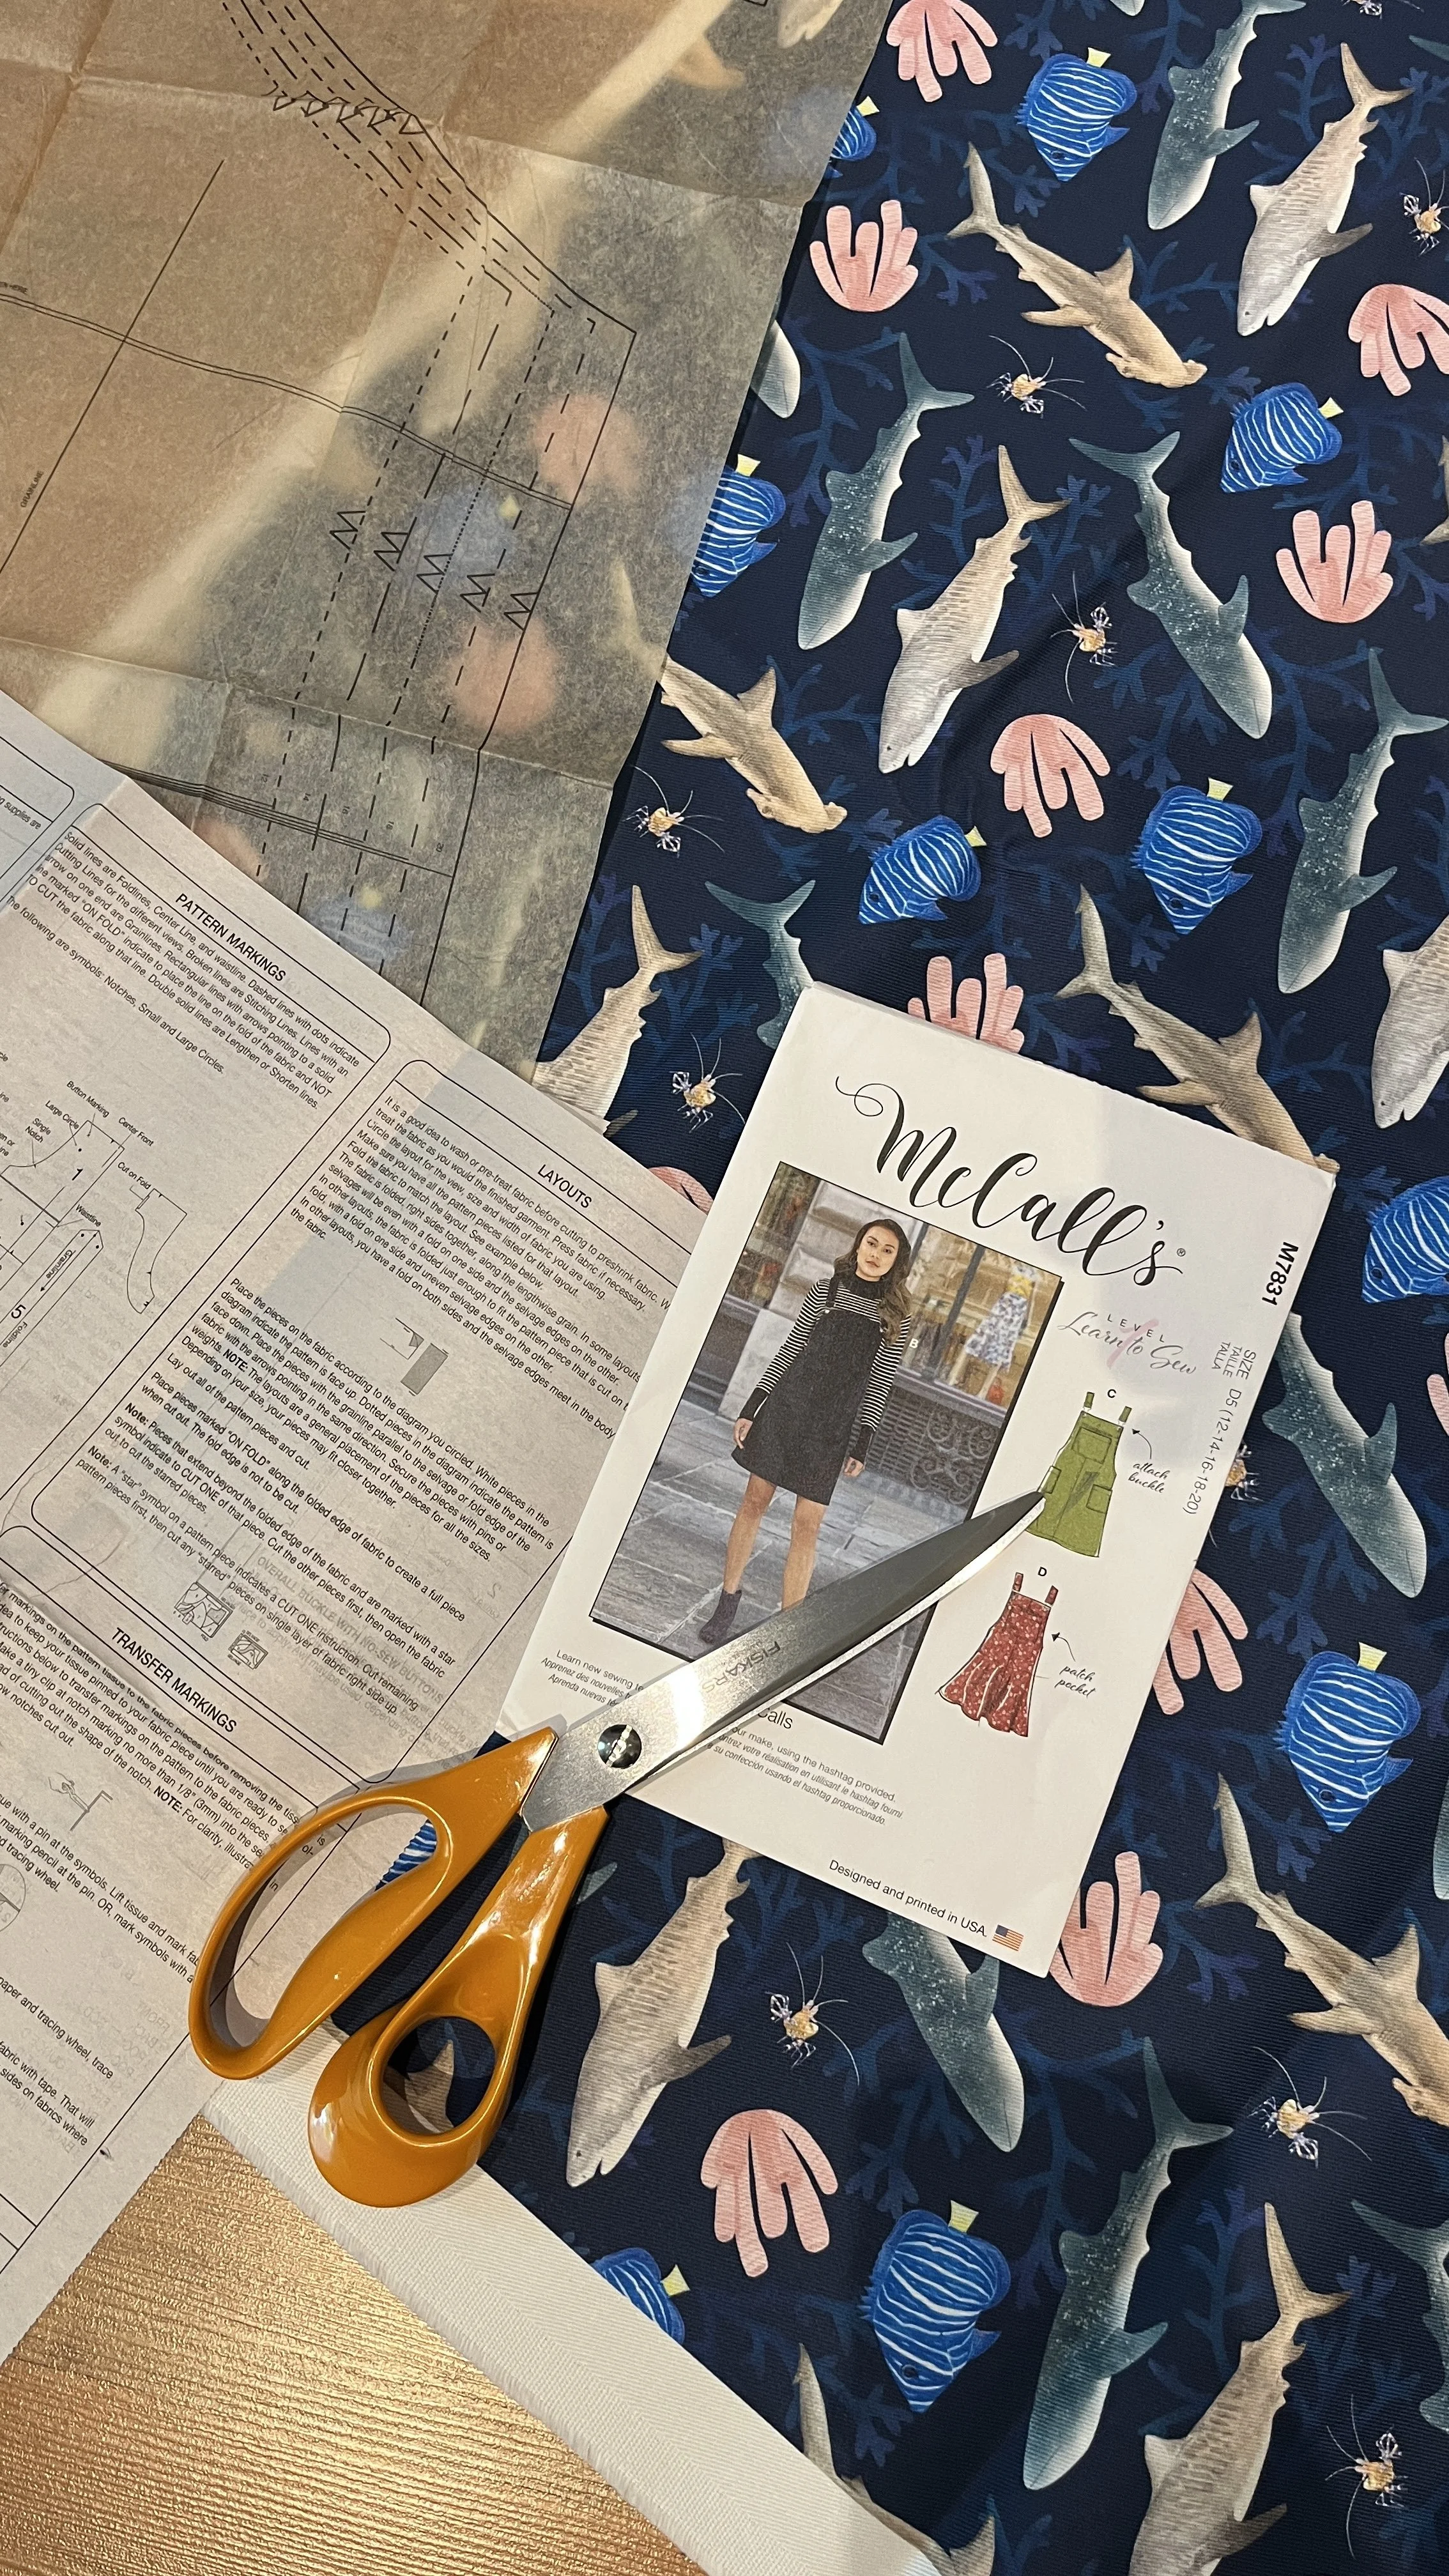
Choosing a pattern
Now I already had the fabric (yes, it had been sitting in it's delivery jiffy bag for two years, waiting for me to finally make a decision), so I had to carefully choose a pattern that would work.
If you don't already have a pattern, I suggest choosing the pattern first, and then buying the right amount of fabric. Much easier, and less risky.
This dungarees dress pattern says 1.4m needed for my size, so I crossed my fingers and hoped it would allow me to pattern match where I wanted to.
Wash your fabric before you start
Even shrunk your favourite t-shirt in the wash? Now imagine how you'd feel if that happened after you'd spent hours sewing it yourself. Some fabrics you might get away with it (I have with loose fitting clothing), but for this heavier weight bull denim, I wasn't going to risk it.
Cutting the fabric
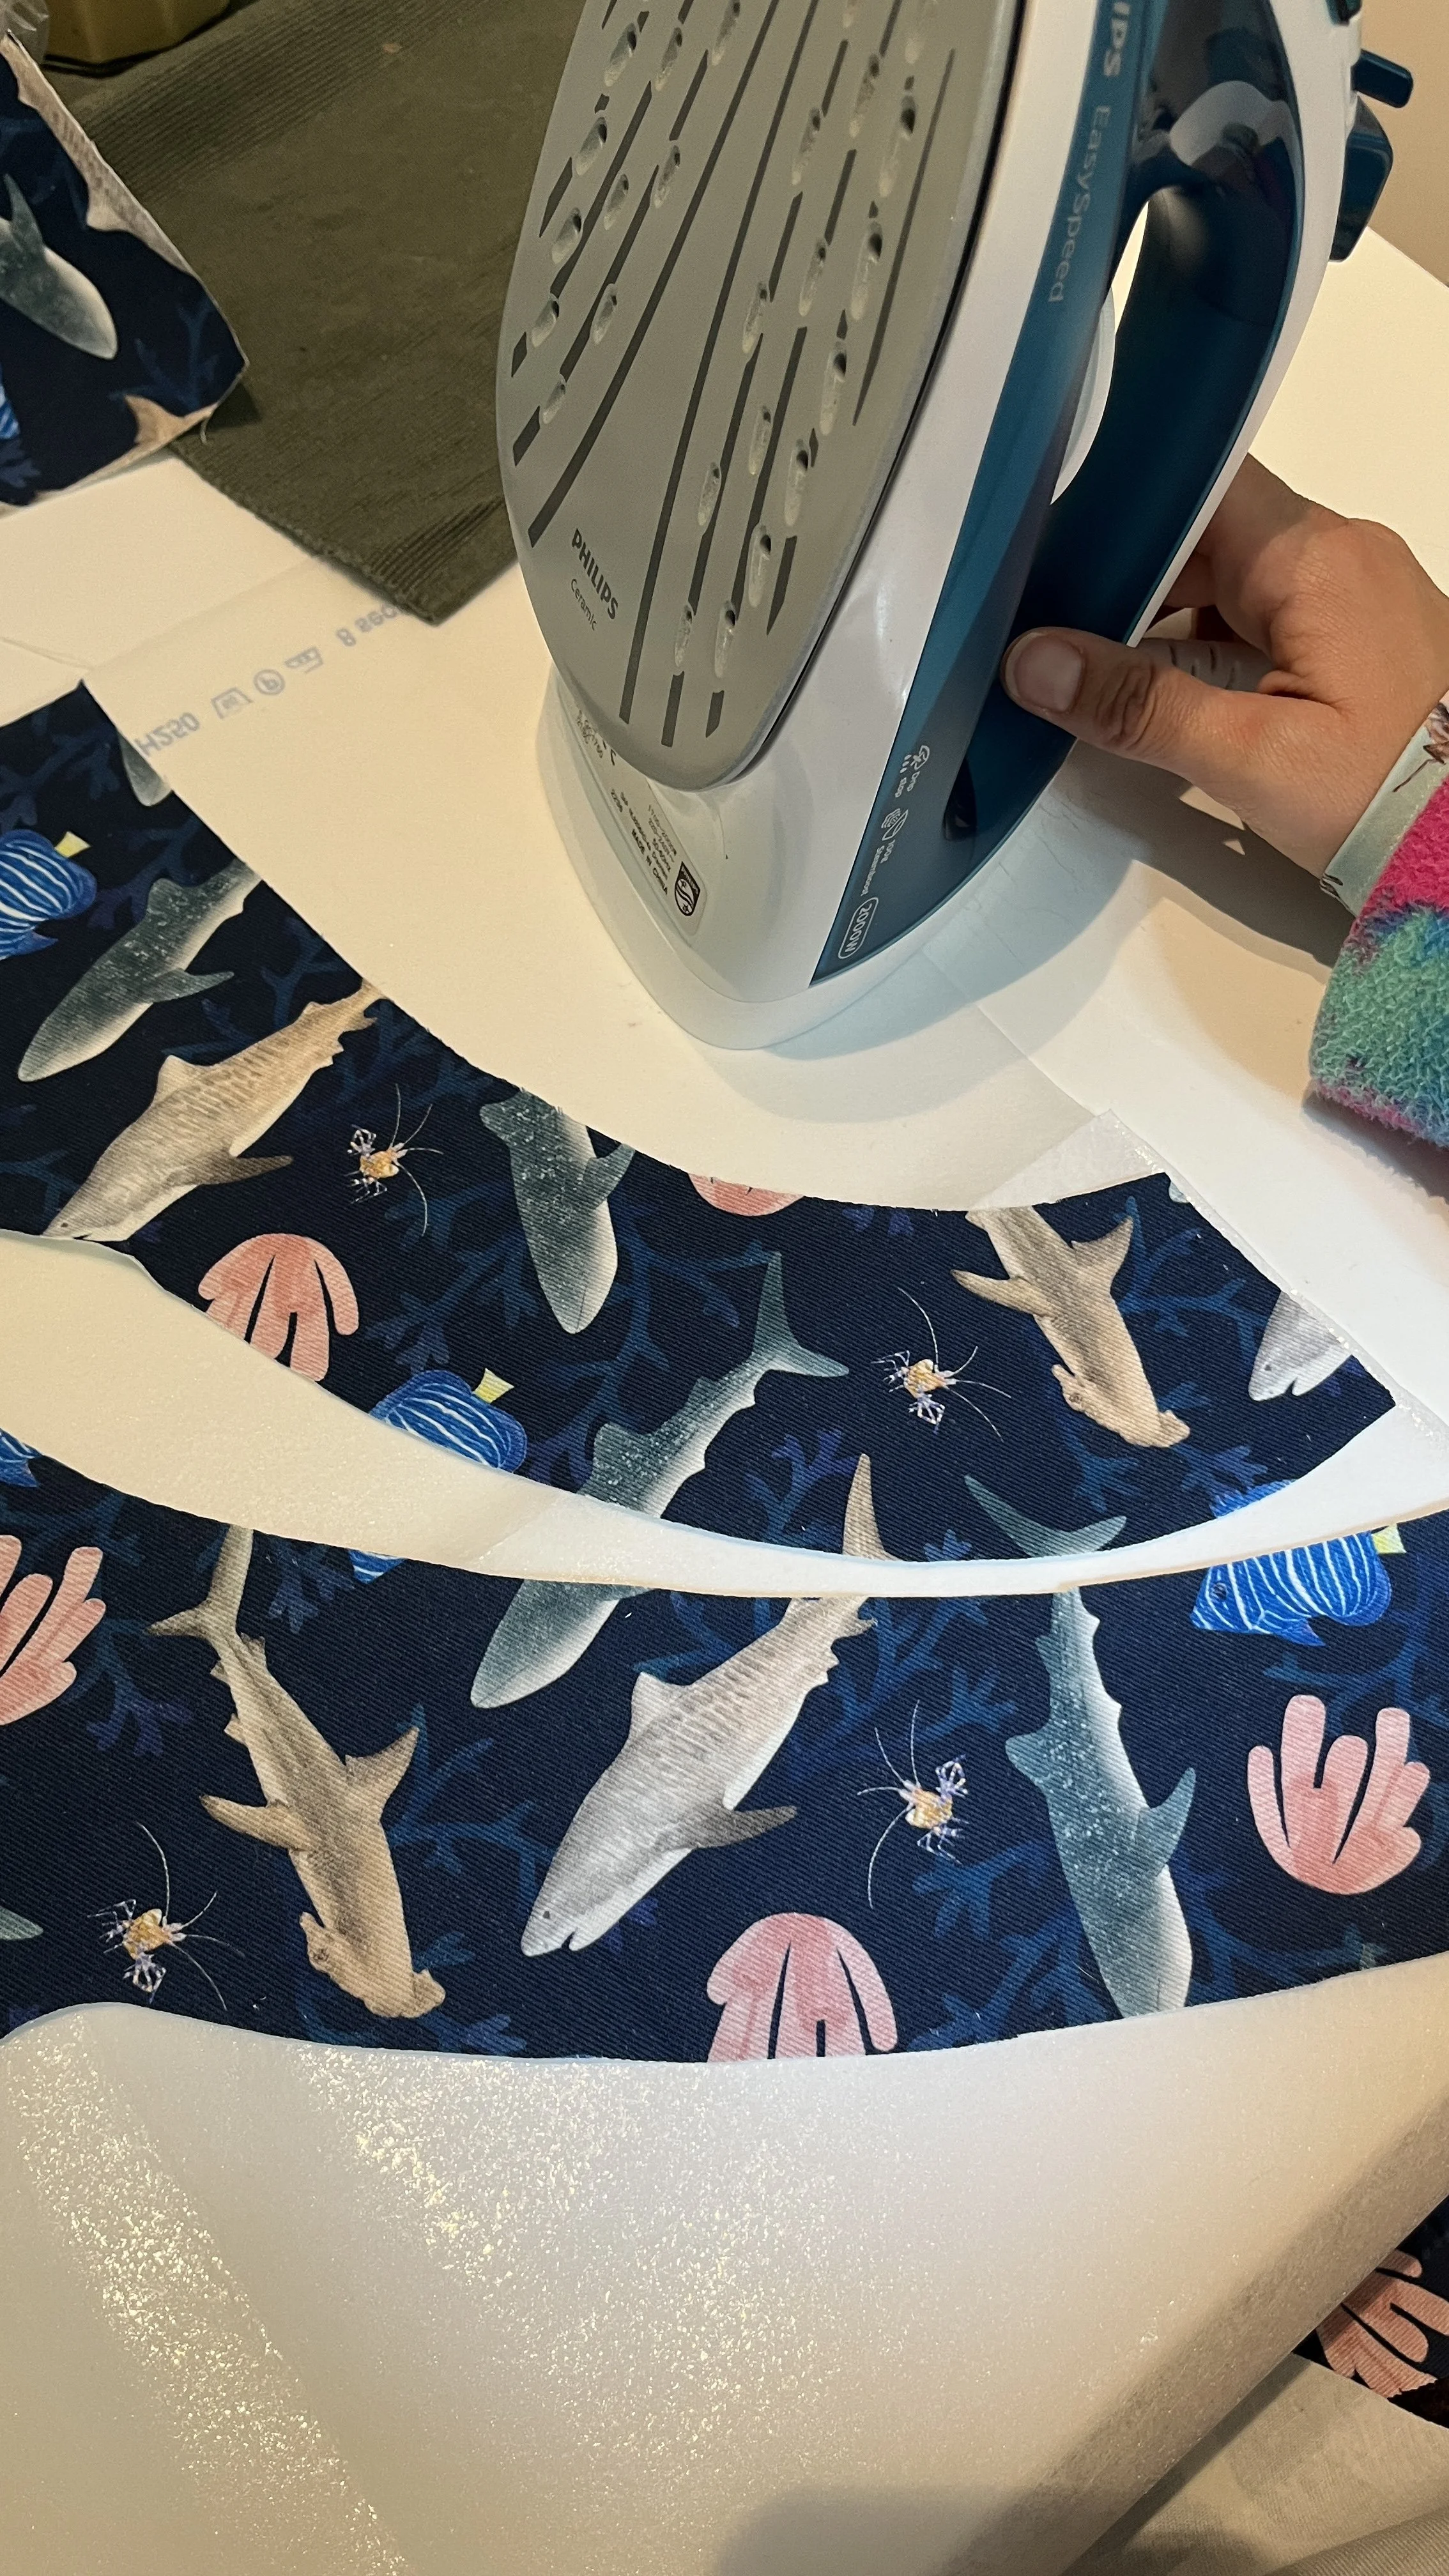
Before you cut your fabric. Read the pattern. Read it again. I can't stress it enough, read it once more. And even then, if you're anything like me, you might still make a mistake.
For example… this dress requires interfacing on the straps and the front and back facing. I didn't cut the corners of the interfacing before ironing it, because the written instructions confused me, why cut out a pattern if you're going to chop off the corners? Anyway, all good, you can just peel the interfacing off and trim it, which is exactly what I did. First mistake resolved and out of the way. More about the interfacing later on.
The joy of making your own clothes
Apart from the accomplishment of making your own clothes, one of the best bits is getting clothing to fit you just right.
For this pattern, the top and bottom were two different pattern pieces, to allow for you to add length in the middle of the dress, depending on how long you wanted it to be overall. As I was a different size on the top and the bottom, I used the extra length section to cut the fabric from one size to the other, and make it the perfect fit for me!
Pattern matching
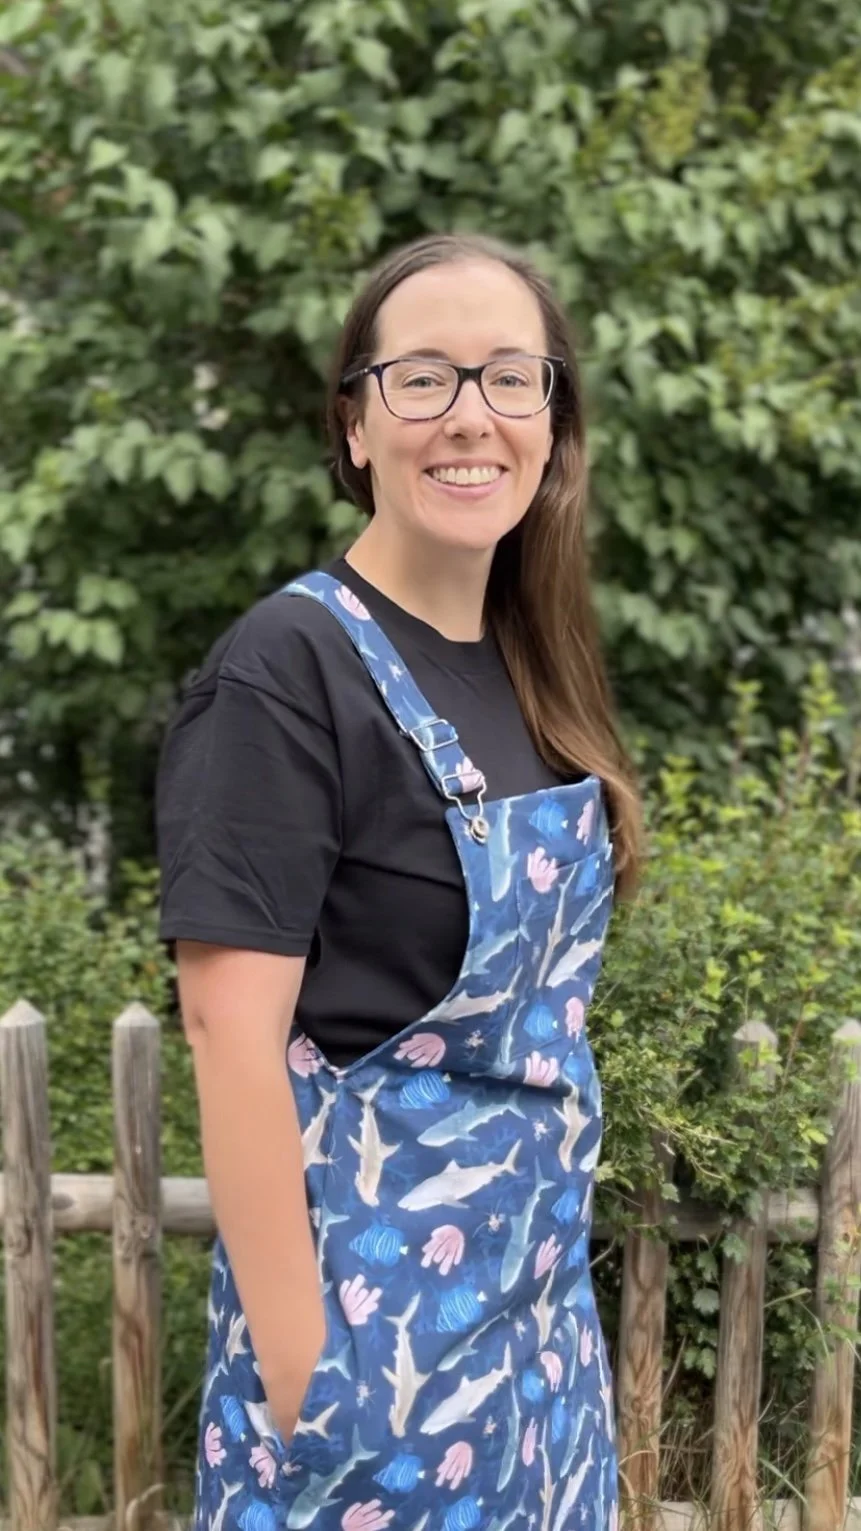
Pattern matching is when you line up the pattern across seams or layers (like the visible pocket on the front of this dress), so that the overall design looks seamless and is more aesthetically pleasing.
This pattern called for two front panels and two back panels stitched together (just to use fewer metres of fabric). Instead, I cut these panels on the fold in order to eliminate the need for pattern matching them. That would have be REALLY tricky. But the front pocket, that HAD to be matched.
Getting the perfect pattern match can be tricky, but oh it is so worth it when you get it right! You'll know feeling if you've successfully pattern matched before, and it's such an achievement!

When it’s good to not follow the pattern
This pattern was designed with one large pocket and two smaller pockets stitched onto the front. I decided that pockets in the side seams would be much more useful than the small front pockets, so I used the pocket pattern from the trousers I stitched last summer. I’m so glad I did!
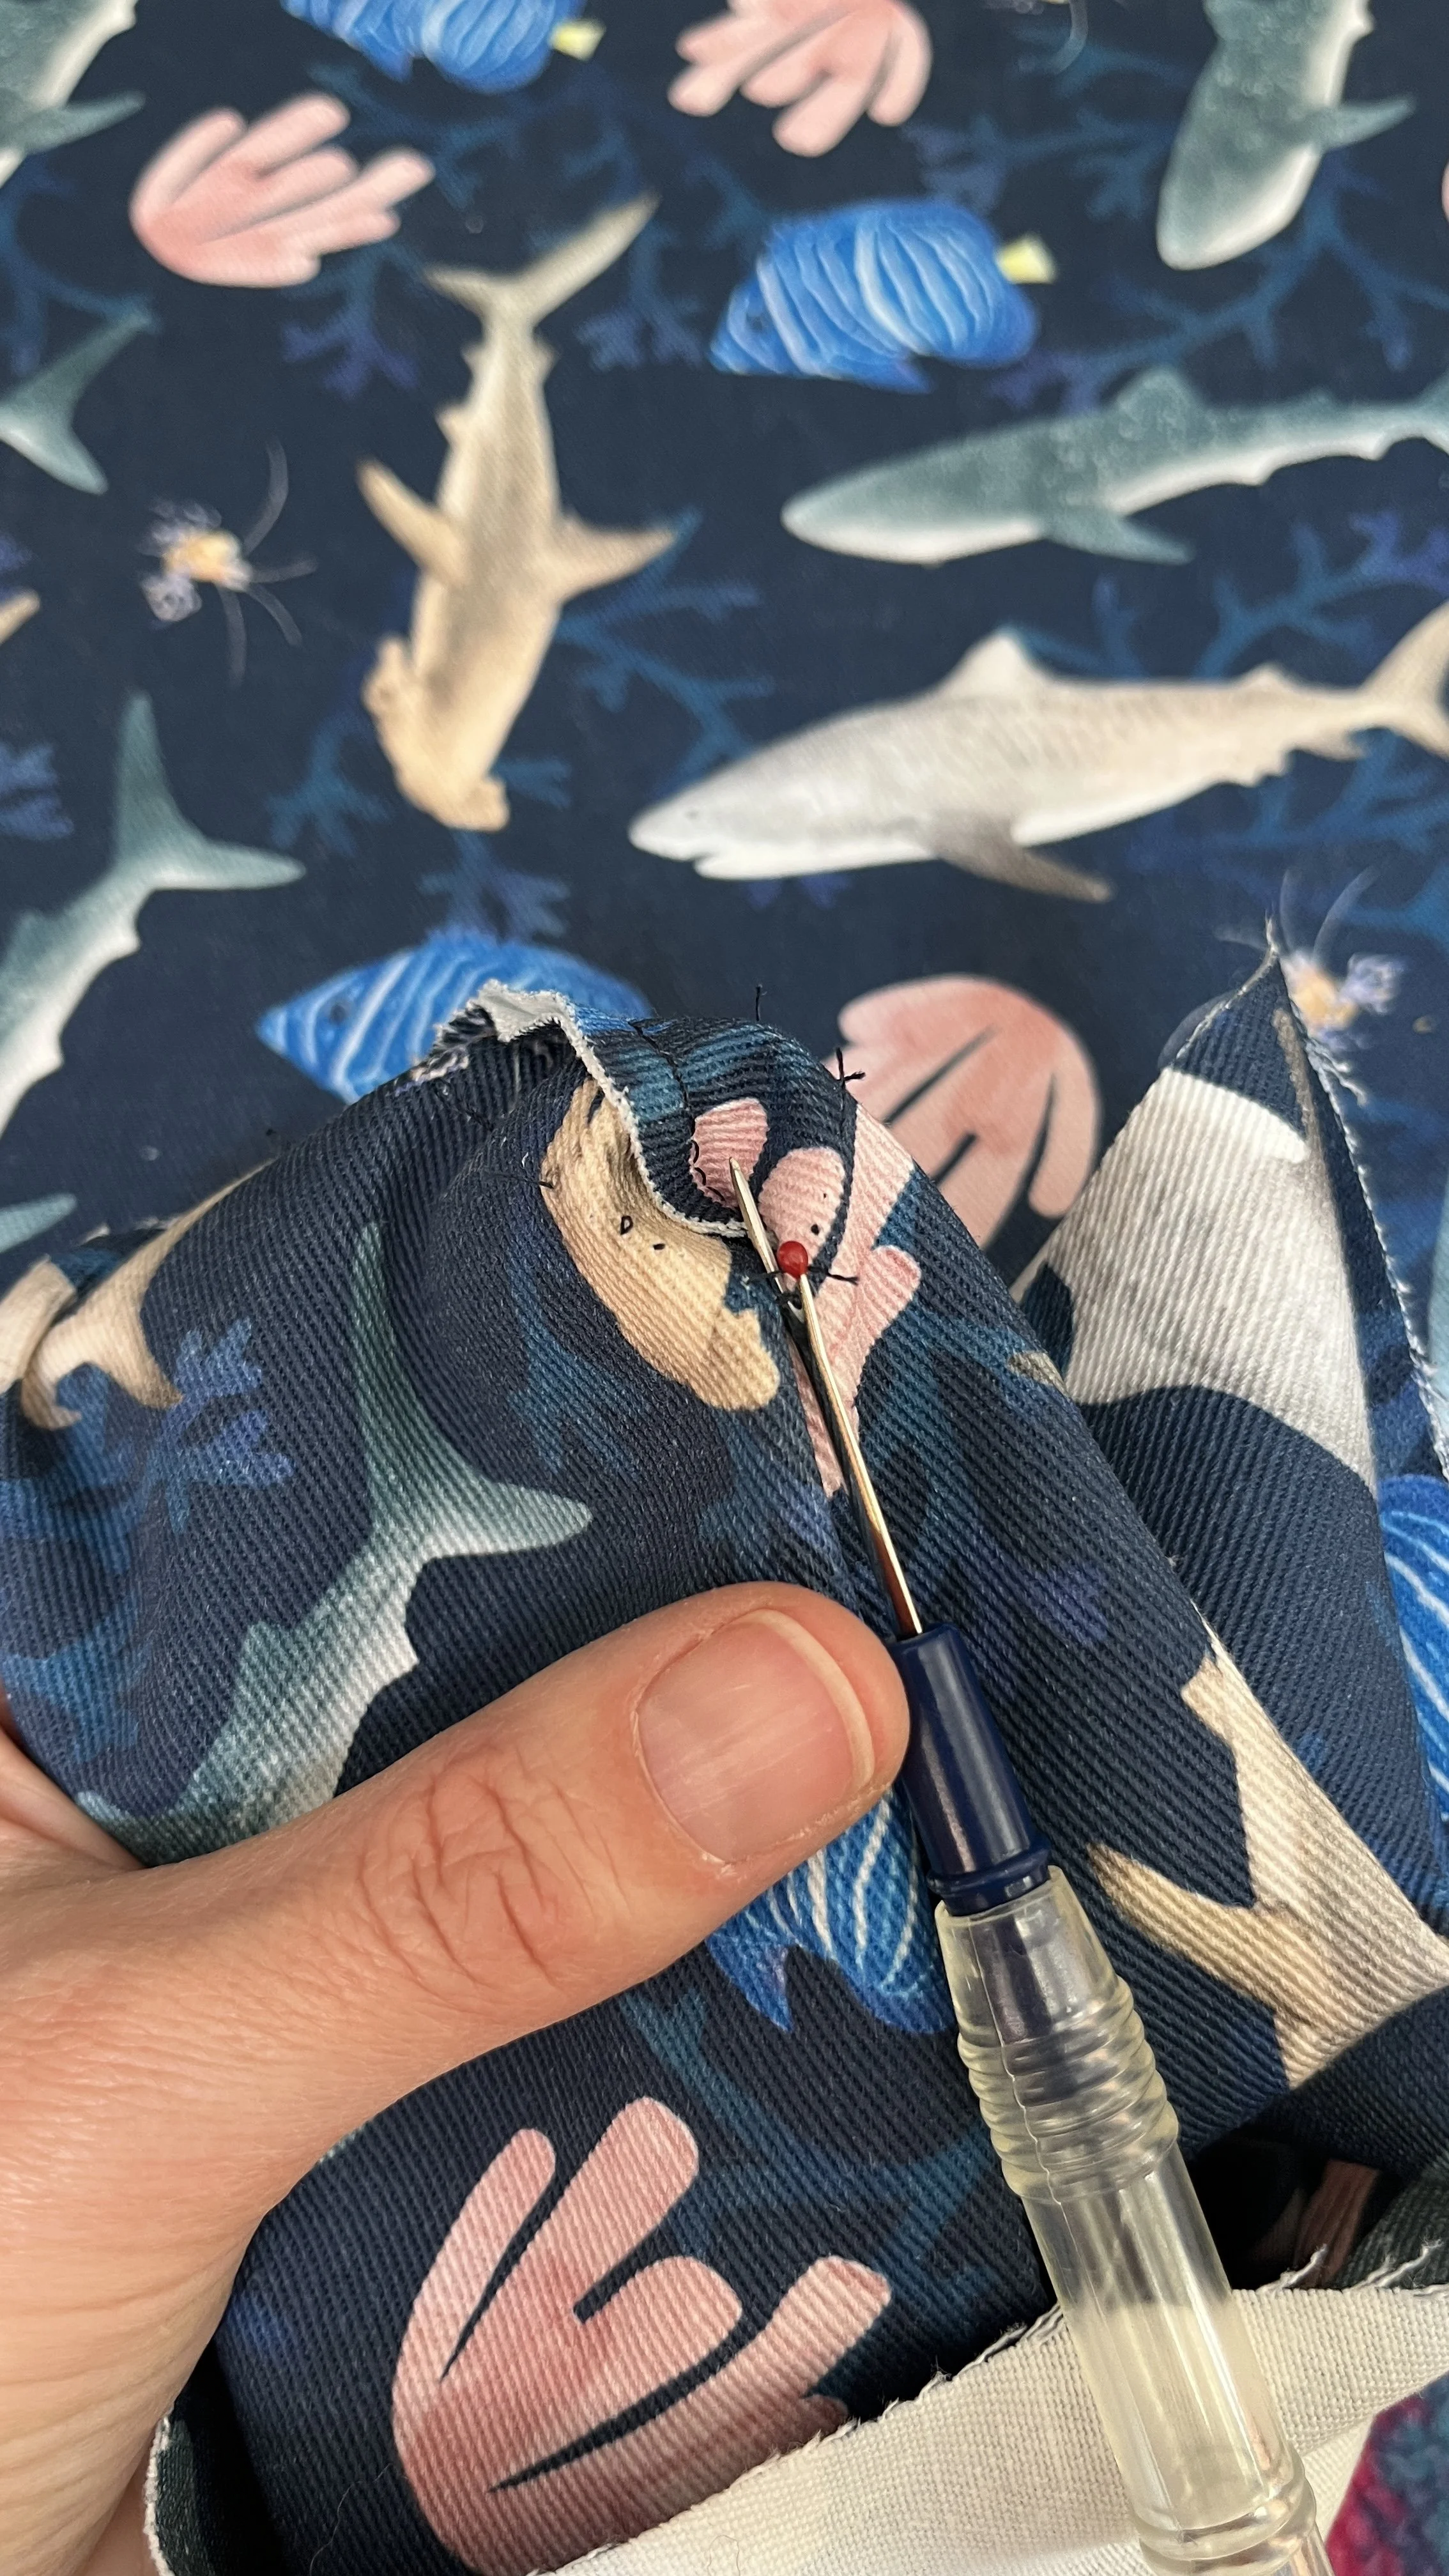
French seams
Usually to sew a seam, you pin the right sides of the fabric together and stitch along the edge. The only problem with this is unless you have an overlocker to give you a clean finish, or zig-zag stitch along every edge (which I did for the facing), these raw edges will fray and can also feel a little scratchy.
Now with French seams, you pin the wrong sides of the fabric together and stitch along the edge as if you were going to sew the seam inside out. Sew a very narrow seam, remembering your overall seam allowance.
Then you turn the fabric so the right sides are together and stitch the seam as usual.
You'll end up with a beautifully neat, clean seam on the inside, with all the scratchy raw edges hidden in the seam and the outside looking the same as without French seams.
I did this for the side seams and pockets, and I absolutely love the finished look!
Let’s talk more about the interfacing
Do I really need to use interfacing?
It stiffens the fabric and gives it structure in places that need it. As a bonus it stops the edges from fraying, which is perfect as I don't have an overlocker and French seams on the facing would create bulk in the wrong places. So the short answer is, if the pattern asked for it, YES! Use it.
HOWEVER. For this dress, it was totally unnecessary.
Despite this type of fabric being listed on the pattern as one to use, it just made everything too bulky and didn’t sit nicely. If I’d used a thin cotton, and skipped the interfacing, the finished garment just wouldn’t have looked the same. But for this bull denim, I could have skipped it.
As I said earlier, it was used on the straps and the facing. The straps just meant they took forever to turn through and hurt my fingers because they were so thick. Then when it came to the facing, not only was the pattern piece too long, but the interfacing made the facing bulky and stick out. I unpicked the facing twice before deciding to rip off the interfacing and even then I had to cut the facing narrower twice to get it to lay flat.
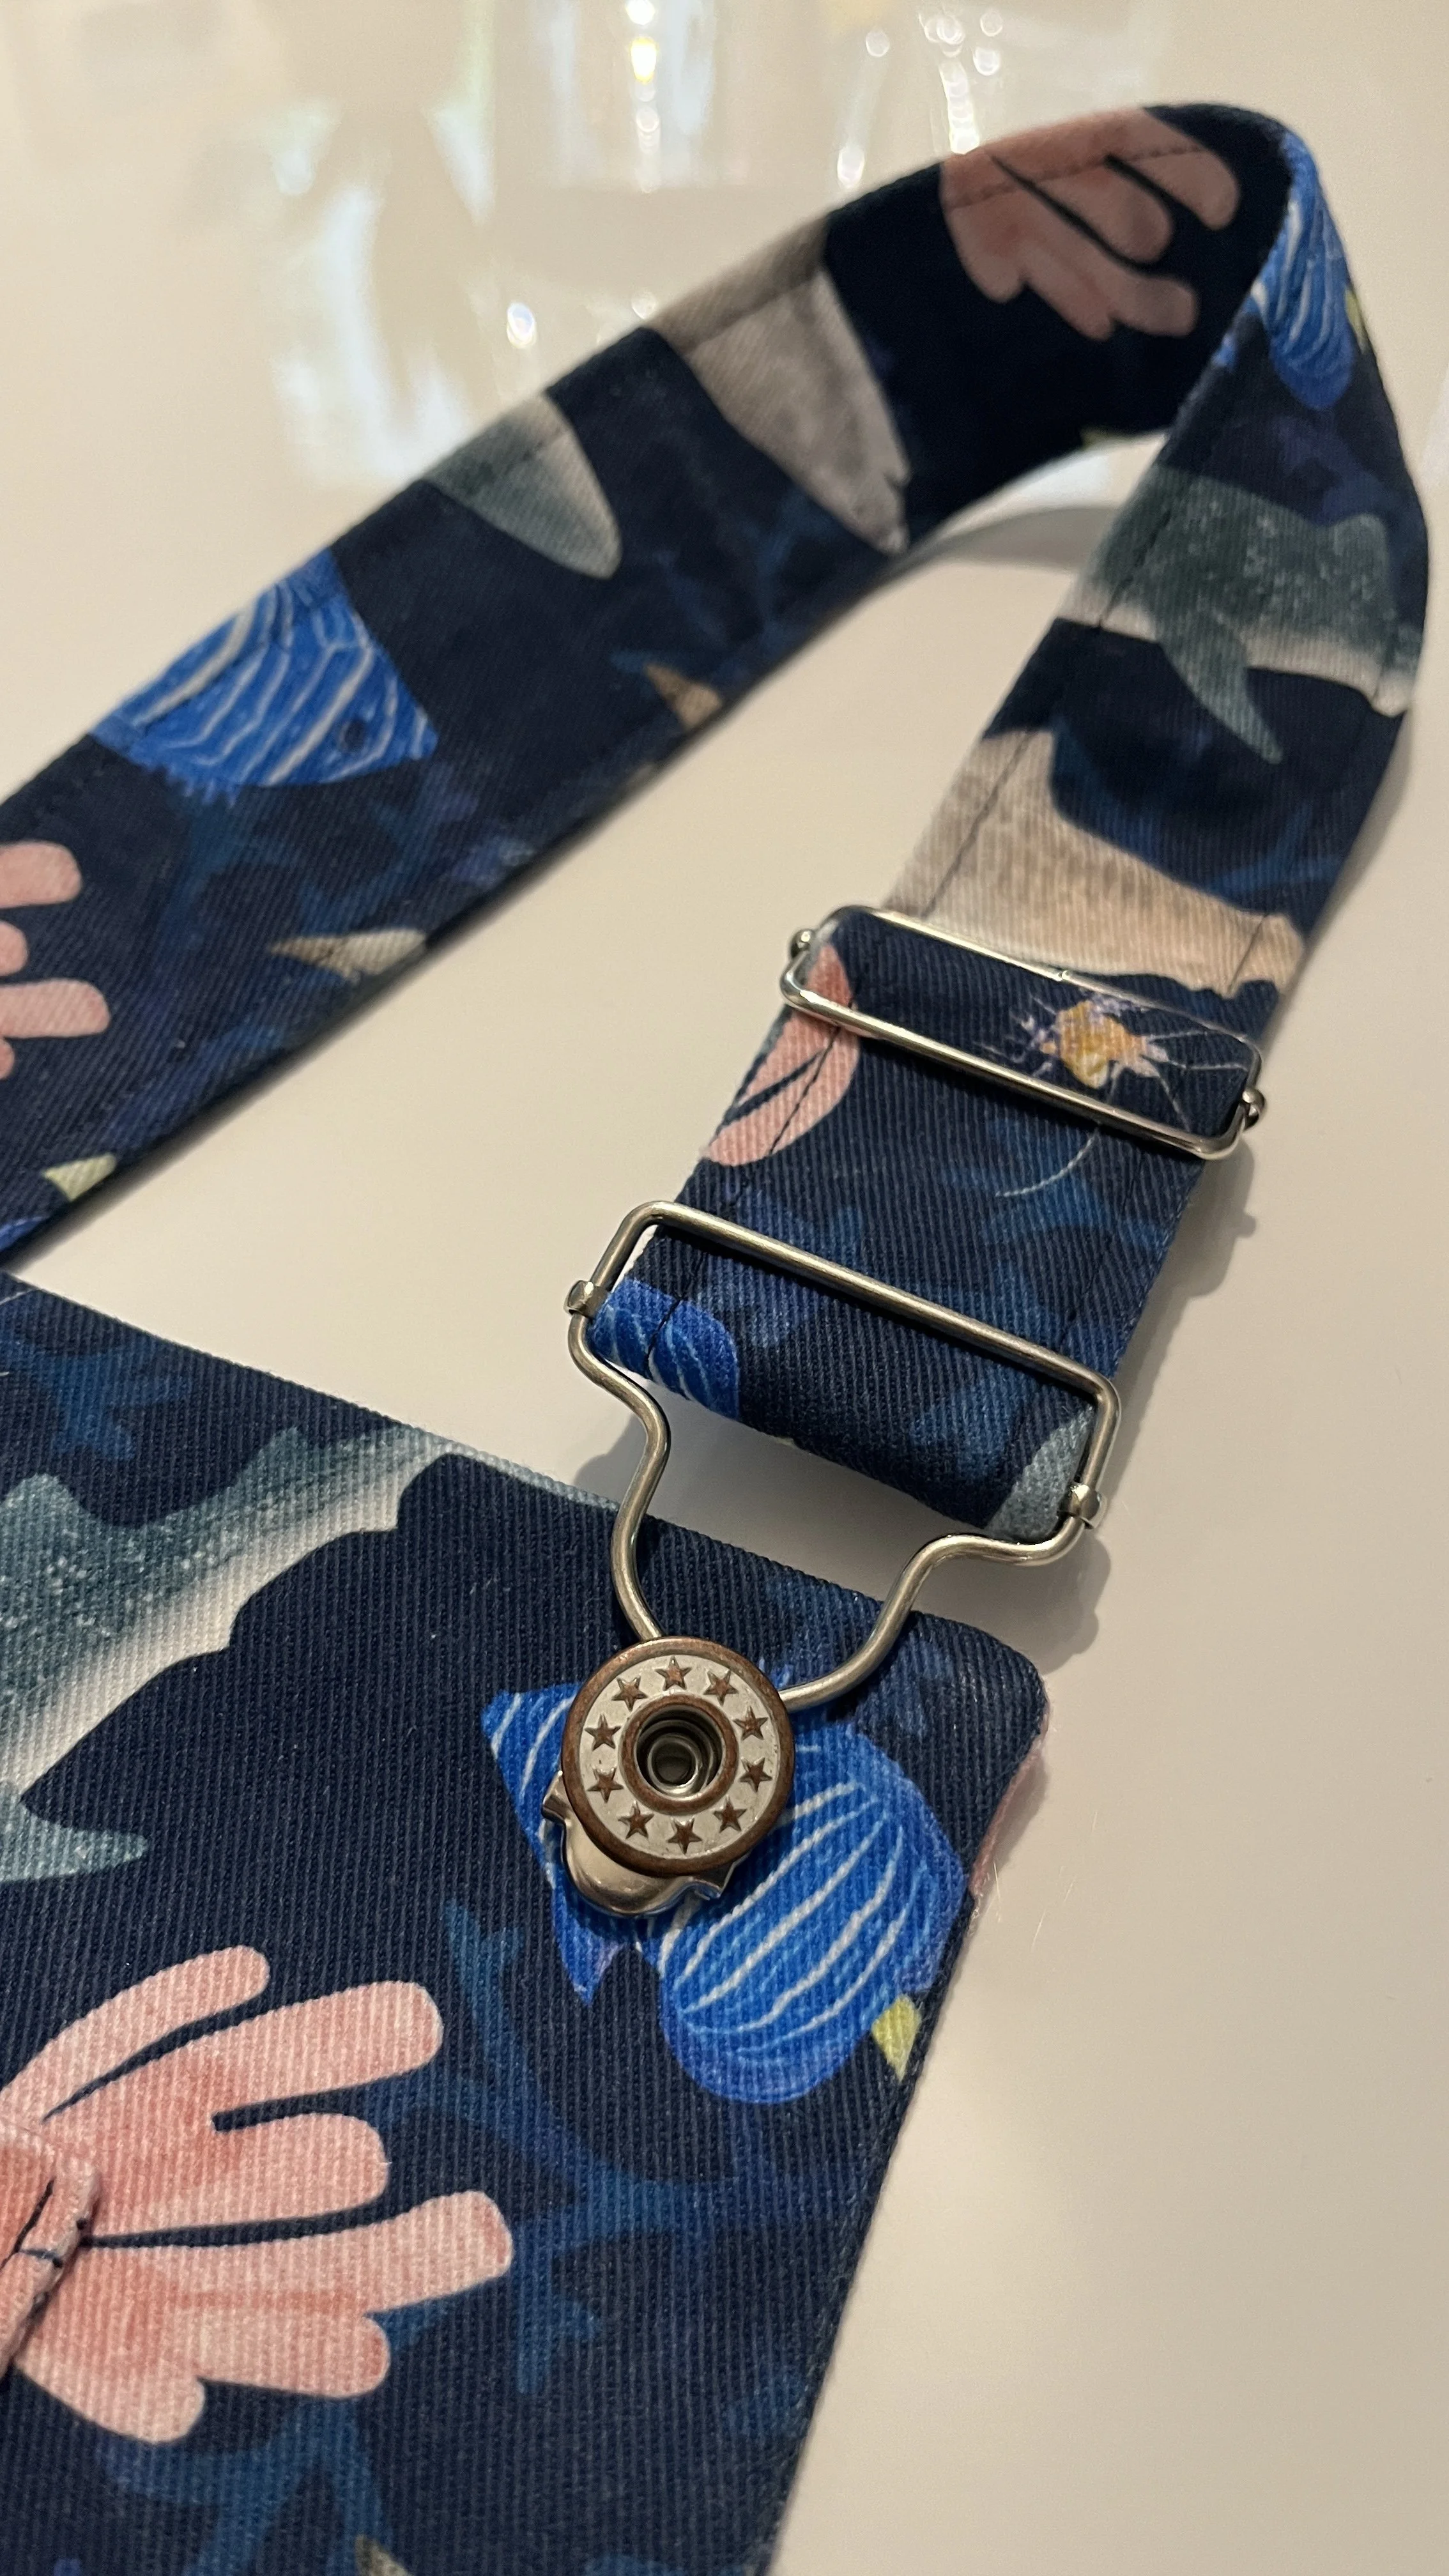
Buckles
I'm not gonna lie, the buckles look easier than they were!
First, thread the strap through the two buckle pieces and back through the first one. These straps have interfacing, so they were bulky to get back through the first piece.
Then make the holes for your buttons using the tool provided. I used a Prym button set, which incidentally doesn’t come with amazing instructions). You'll need a hammer for this part, and careful of your fingers!
Lastly, pop all the pieces onto the little plastic tool and hammer them into each other to attach. Make sure you have a solid surface underneath as they can get knocked sideways fairly easily. Mine came out totally wonky, but you don’t notice once I’m wearing it.
Then it was just the hem and the top stitching and it was finished!
The best part
The best part of sewing this dress was that I didn’t have a deadline. Last year I left my butterflies skirt until the day before our holiday and although it turned out great, it would have been a much more relaxed experience if I'd started it a week earlier. No surprise! This time around I took about a month on the dungarees dress, doing a little every couple of days.
I'm not gonna lie, there were times when I really disliked this dress before it was even finished. That inside facing was a real b*tch to get right, and I definitely ended up making it up to get it laying the way I wanted instead of following the pattern.
But I persevered and now I'm super happy with it!
What will you make?
Inspired by my dressmaking story? Get your own stash of World Oceans Day fabric from Woven Monkey here. What will you make?