Learn how to create a repeat pattern
For those of you who are familiar with my work will know that I love creating repeat patterns using both original watercolour paintings and using watercolour style ‘brushes’ in the app, Procreate.
Whether you're a fellow artist, designer, or simply someone who loves to explore their creative side, learning how to create repeat patterns can take your artwork to a whole new level, expand your creativity and even provide you with a way to diversify your business.
In this blog post, we'll explore three methods: the traditional way using paper and pencil, the modern approach using the Procreate app on your iPad, and how I combine the two with my hand painted watercolours.
Creating a repeat pattern on paper
I learnt this ‘traditional’ method many many years ago, back in secondary school, from my wonderfully inspirational and supportive art teacher, Mrs. Elliott. I hope that one day she sees the business I have created. 🙏🏻🤞🏻🥹
First, gather your art supplies. You’ll need a blank sheet of paper, a pencil, an eraser, a pair of scissors, sellotape or washi tape and any colouring pencils, pens or paints that you wish to use. The first time you try I suggest keeping it basic!
You’ll need a square piece of paper, so fold your page diagonally and then cut off the part that sticks out. Take a look at the images below.

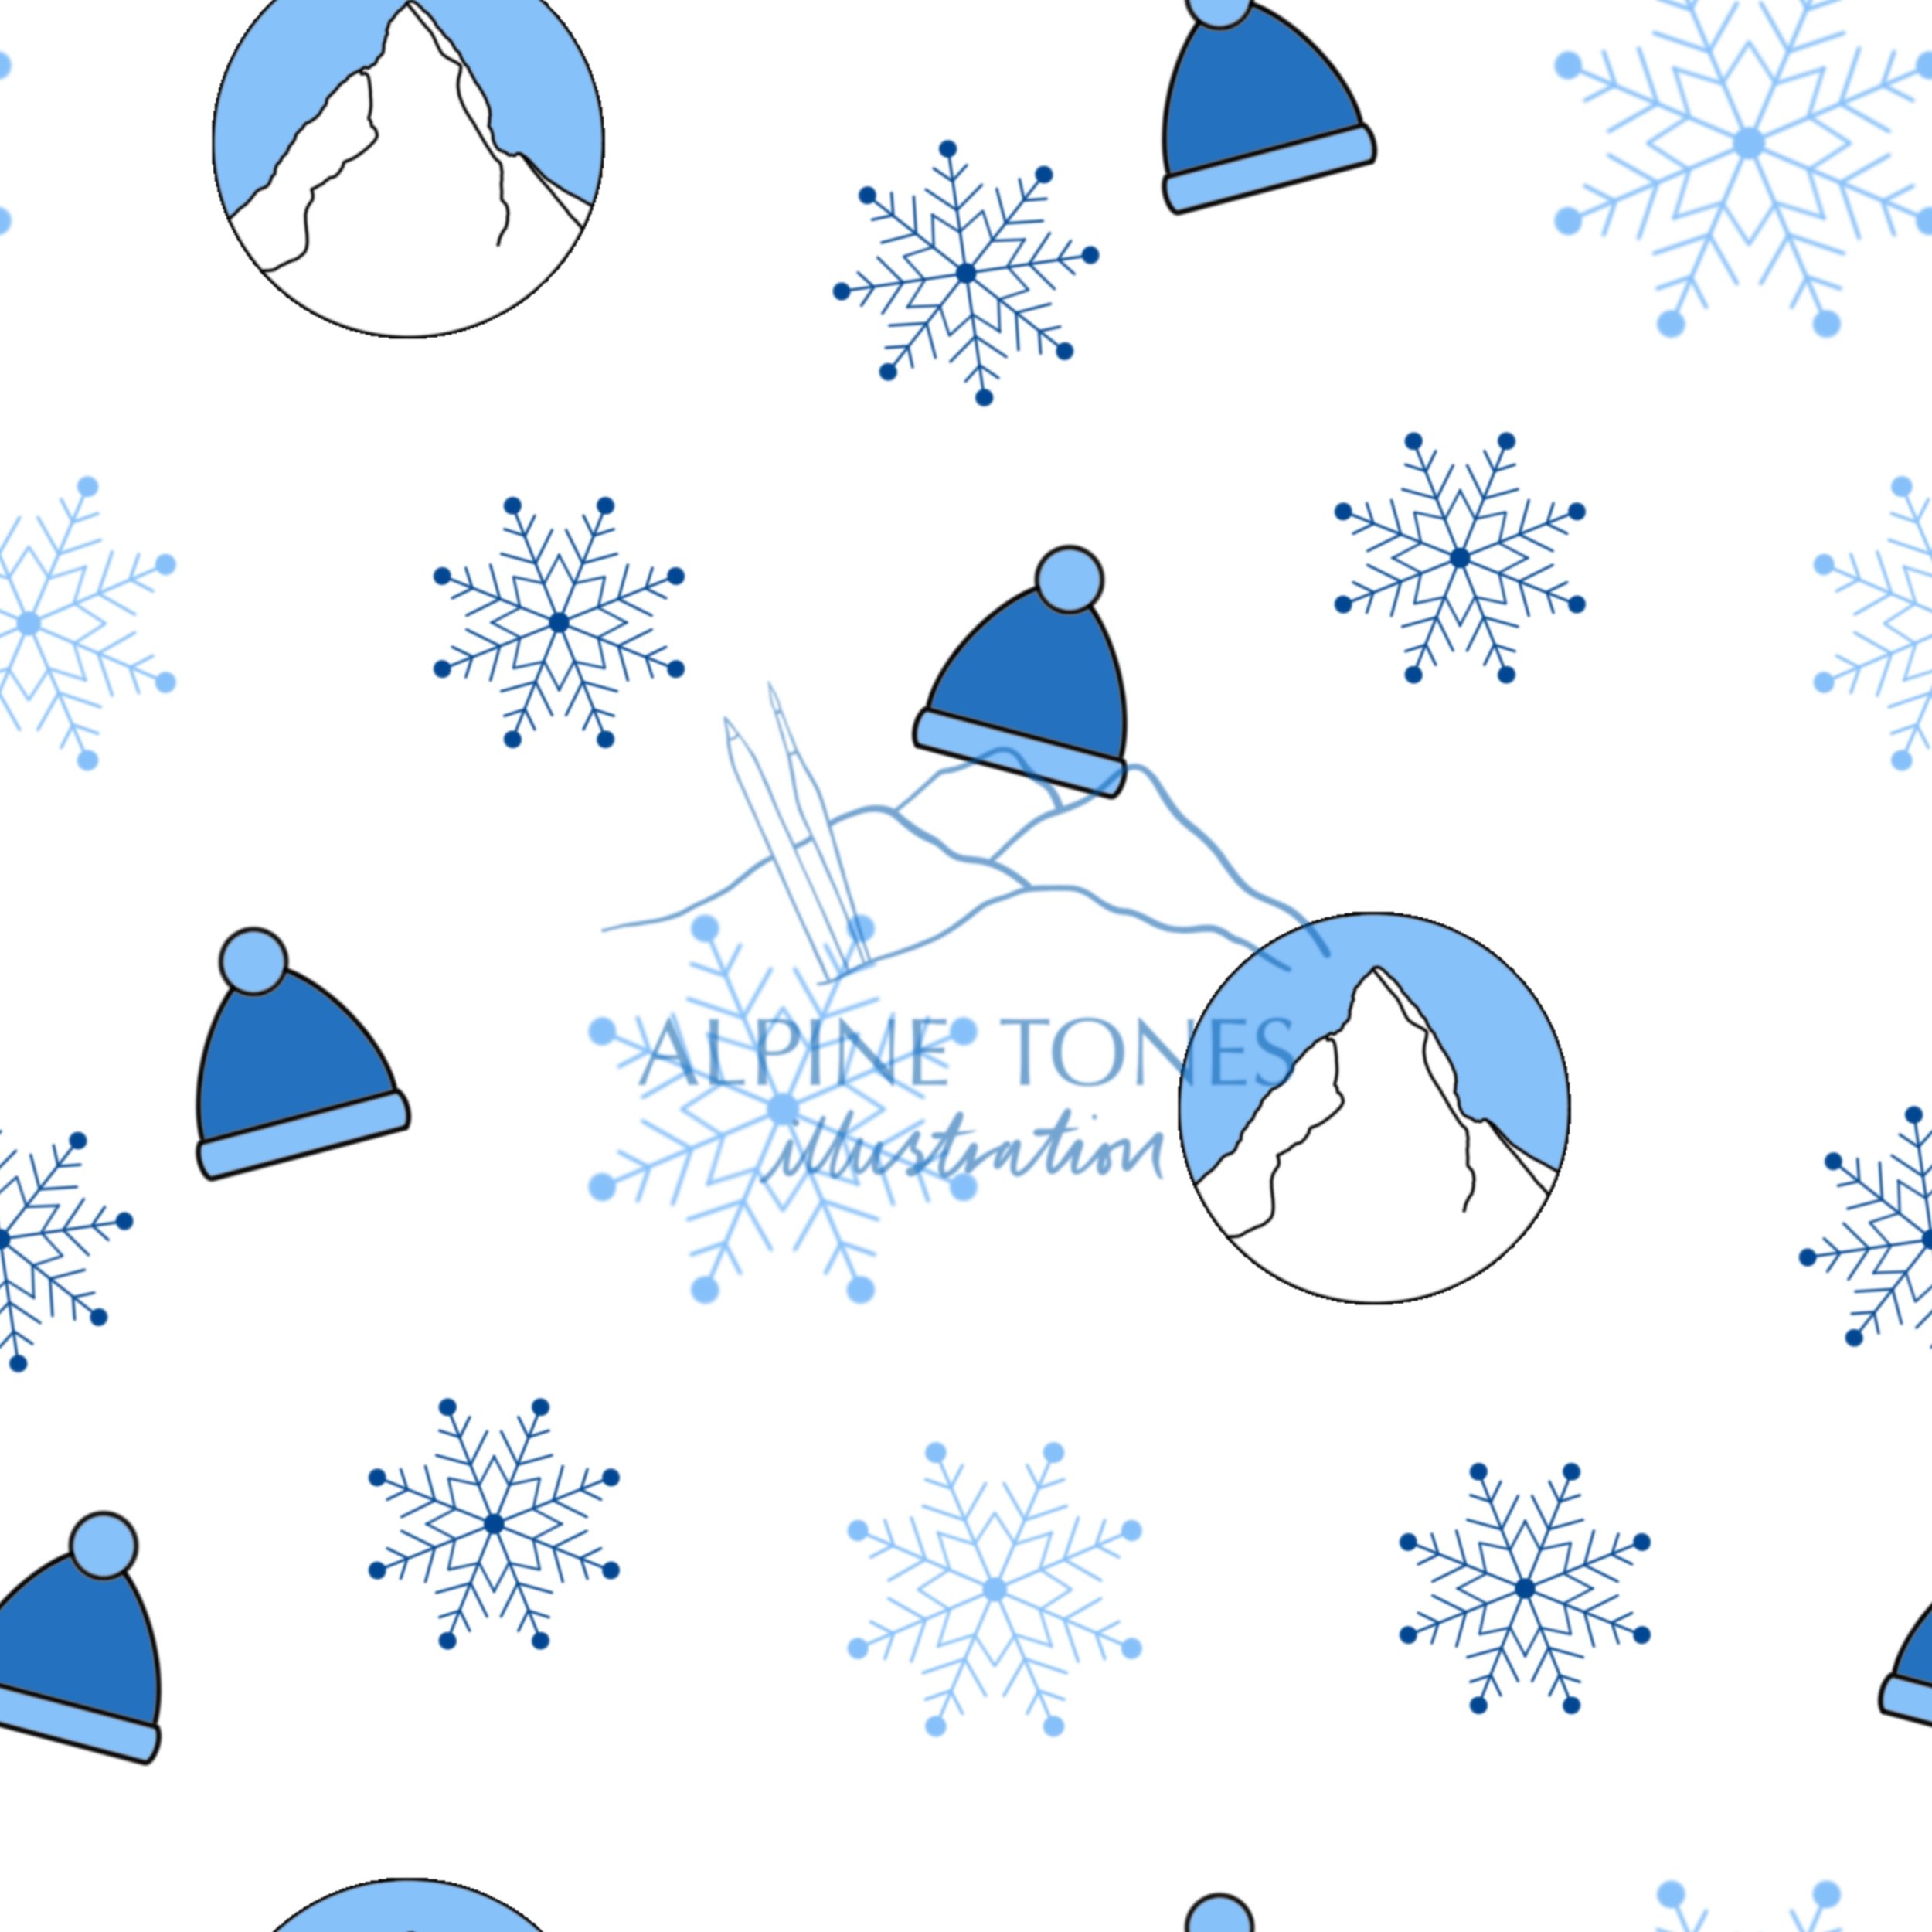
Now let your imagination run wild and sketch out various shapes, symbols, or objects on your square piece of paper. Think about what theme or mood you want your pattern to convey. As you draw or paint, keep away from the edges of the paper.

Once your done, it’s time to cut it up! Fold your page in half and in half again, and then cut along the folded lines.


Then rearrange the pieces so that all the original edges are at the centre and stick them together on the reverse side.


Continue your design by filling in the white spaces.

And there you have it, your first repeat pattern! Now you can have another go, using more intricate details, and experimenting with more colour. The more you practice, the more you’ll get an idea of how much white space to leave at the edges of the original square piece of paper.

Creating a repeat pattern using Procreate
Now let’s move on to the digital method. For this method you’ll need the Procreate app on an iPad and an Apple Pencil. For those of you who don’t, I hope you’ll find this part interesting nonetheless as it’s an insight into how I create my surface design patterns.
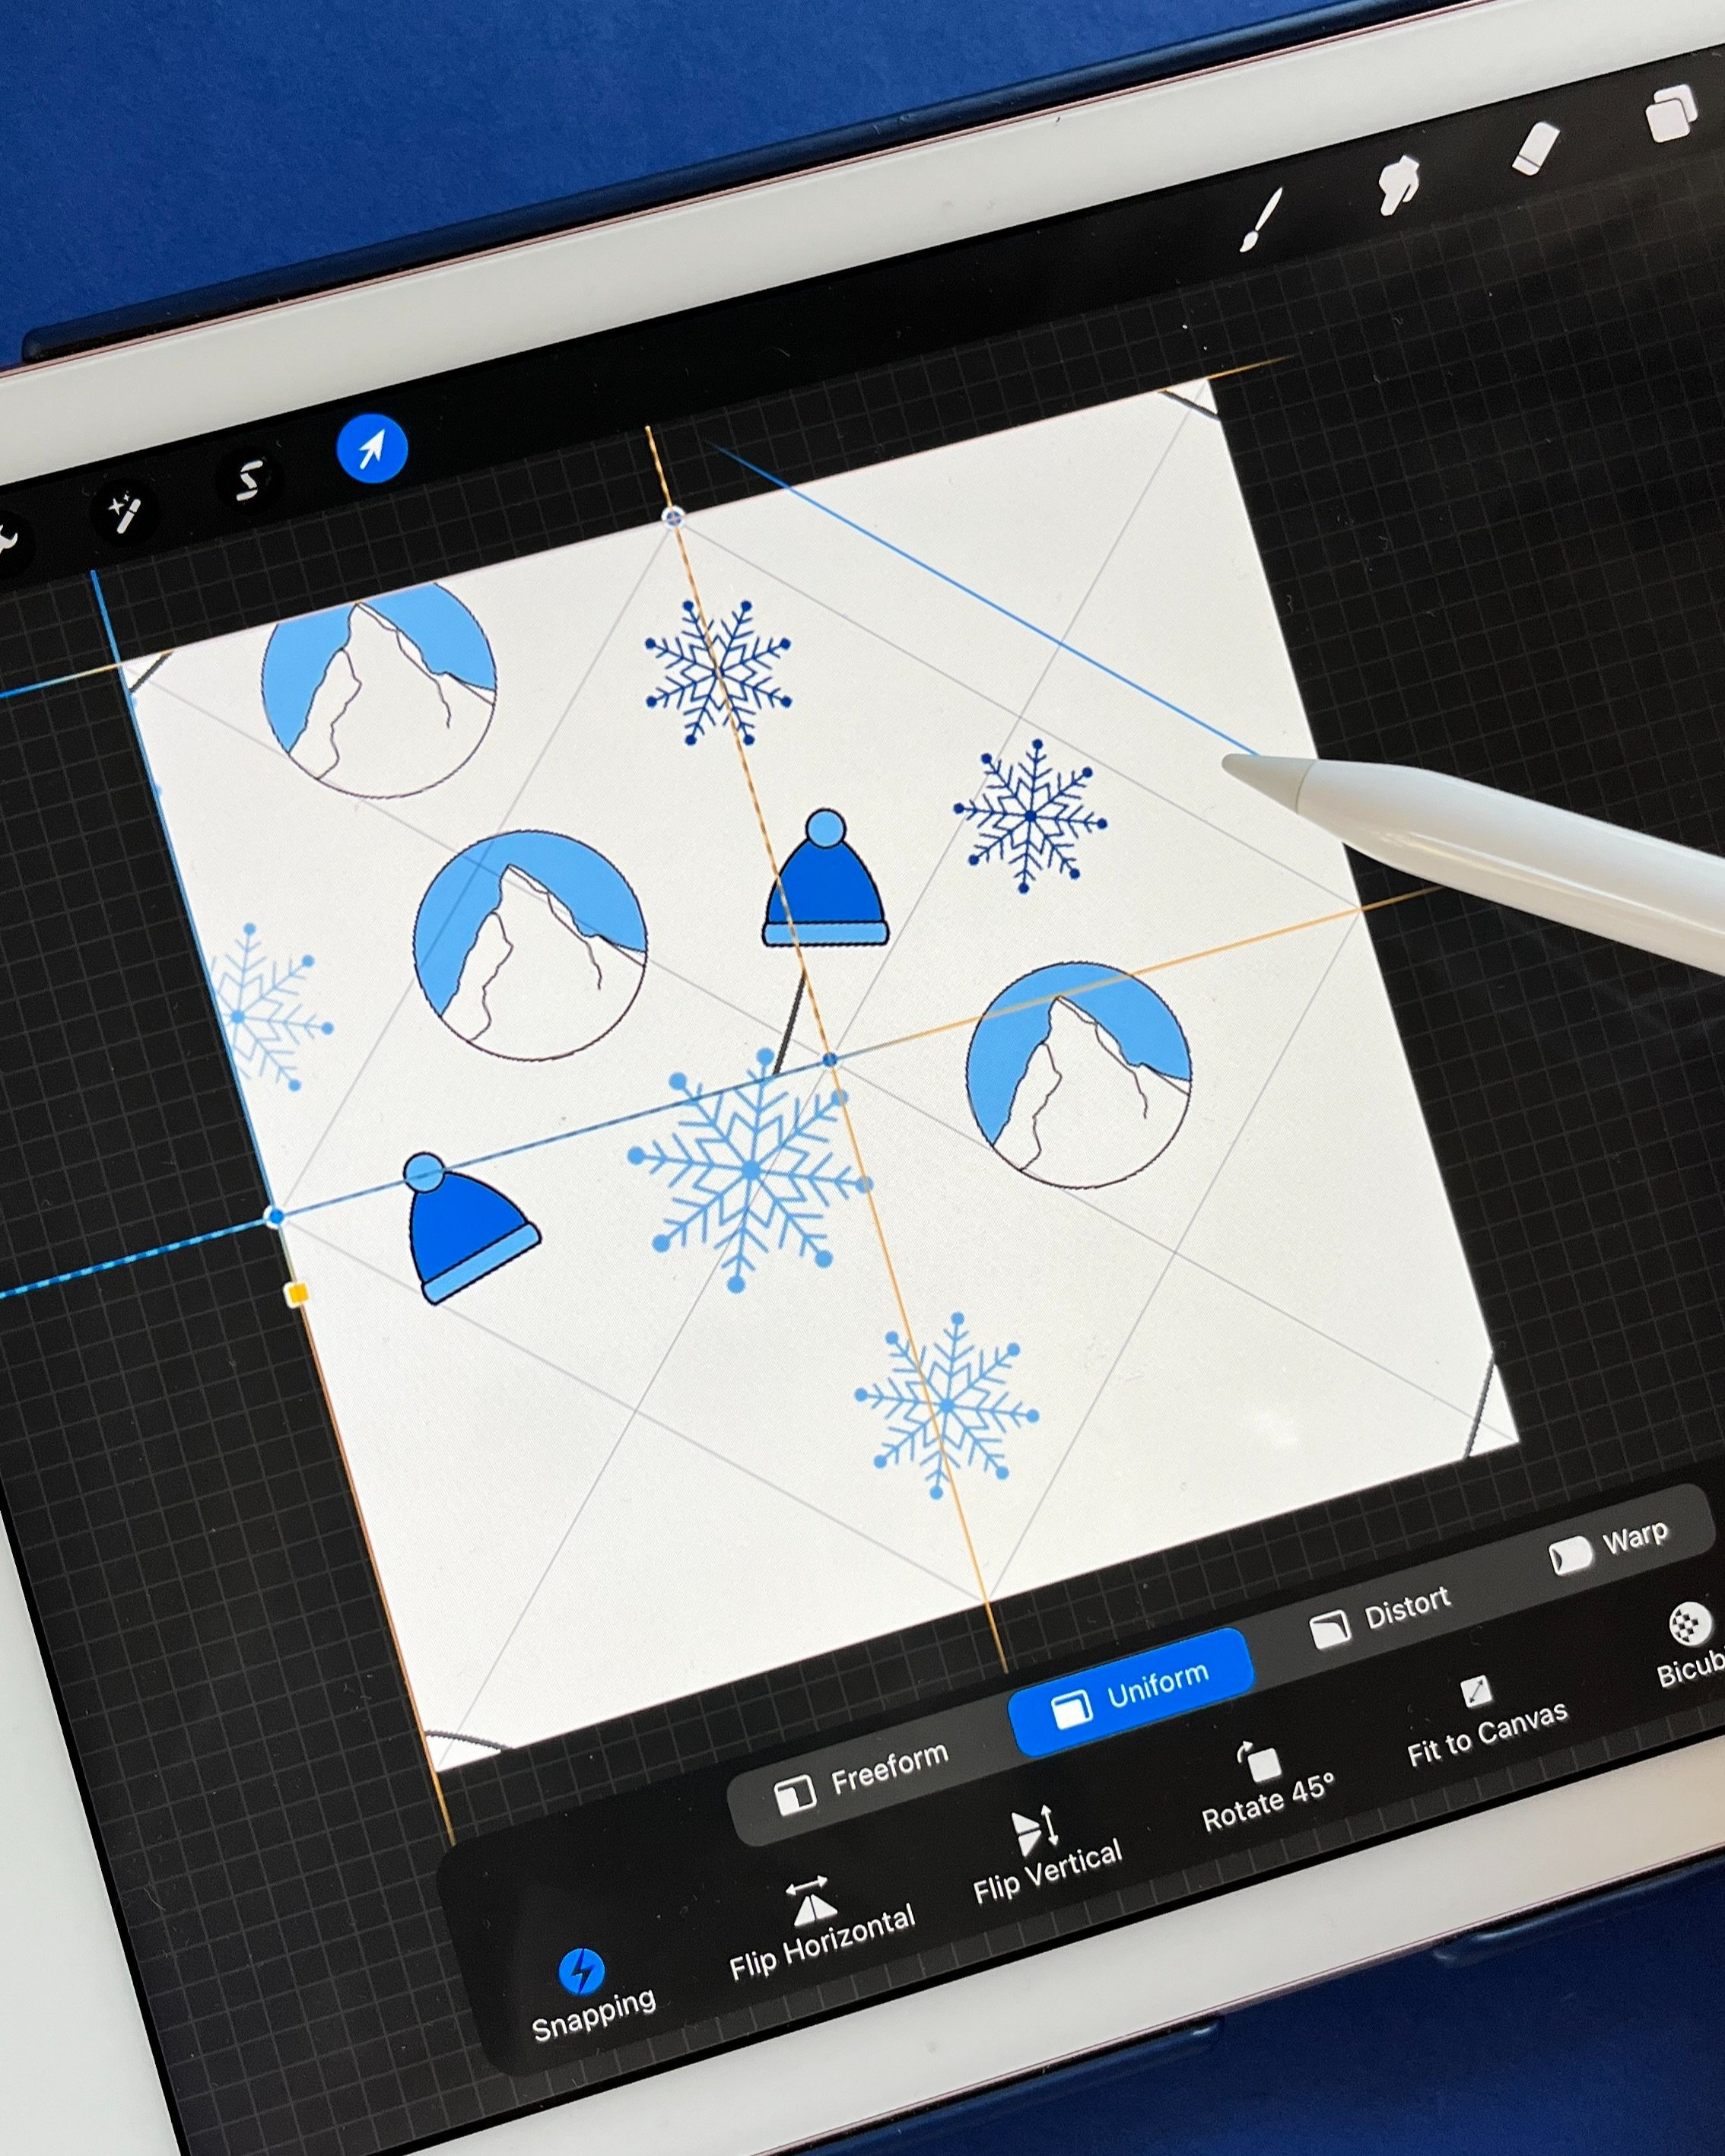
Launch the Procreate app and open up a square canvas. I always use 300dpi as this provides the highest quality whilst still giving me layers to work with. Choosing CMYK or RGB will depend on how you wish to use your final design and your chosen print supplier. The fabric printer, Woven Monkey, who stocks some of my designs, requires images to be uploaded using the RGB format.
Now, there are two ways to continue from here. Let’s call them the reduction method and the drawing guide method.
The reduction method:
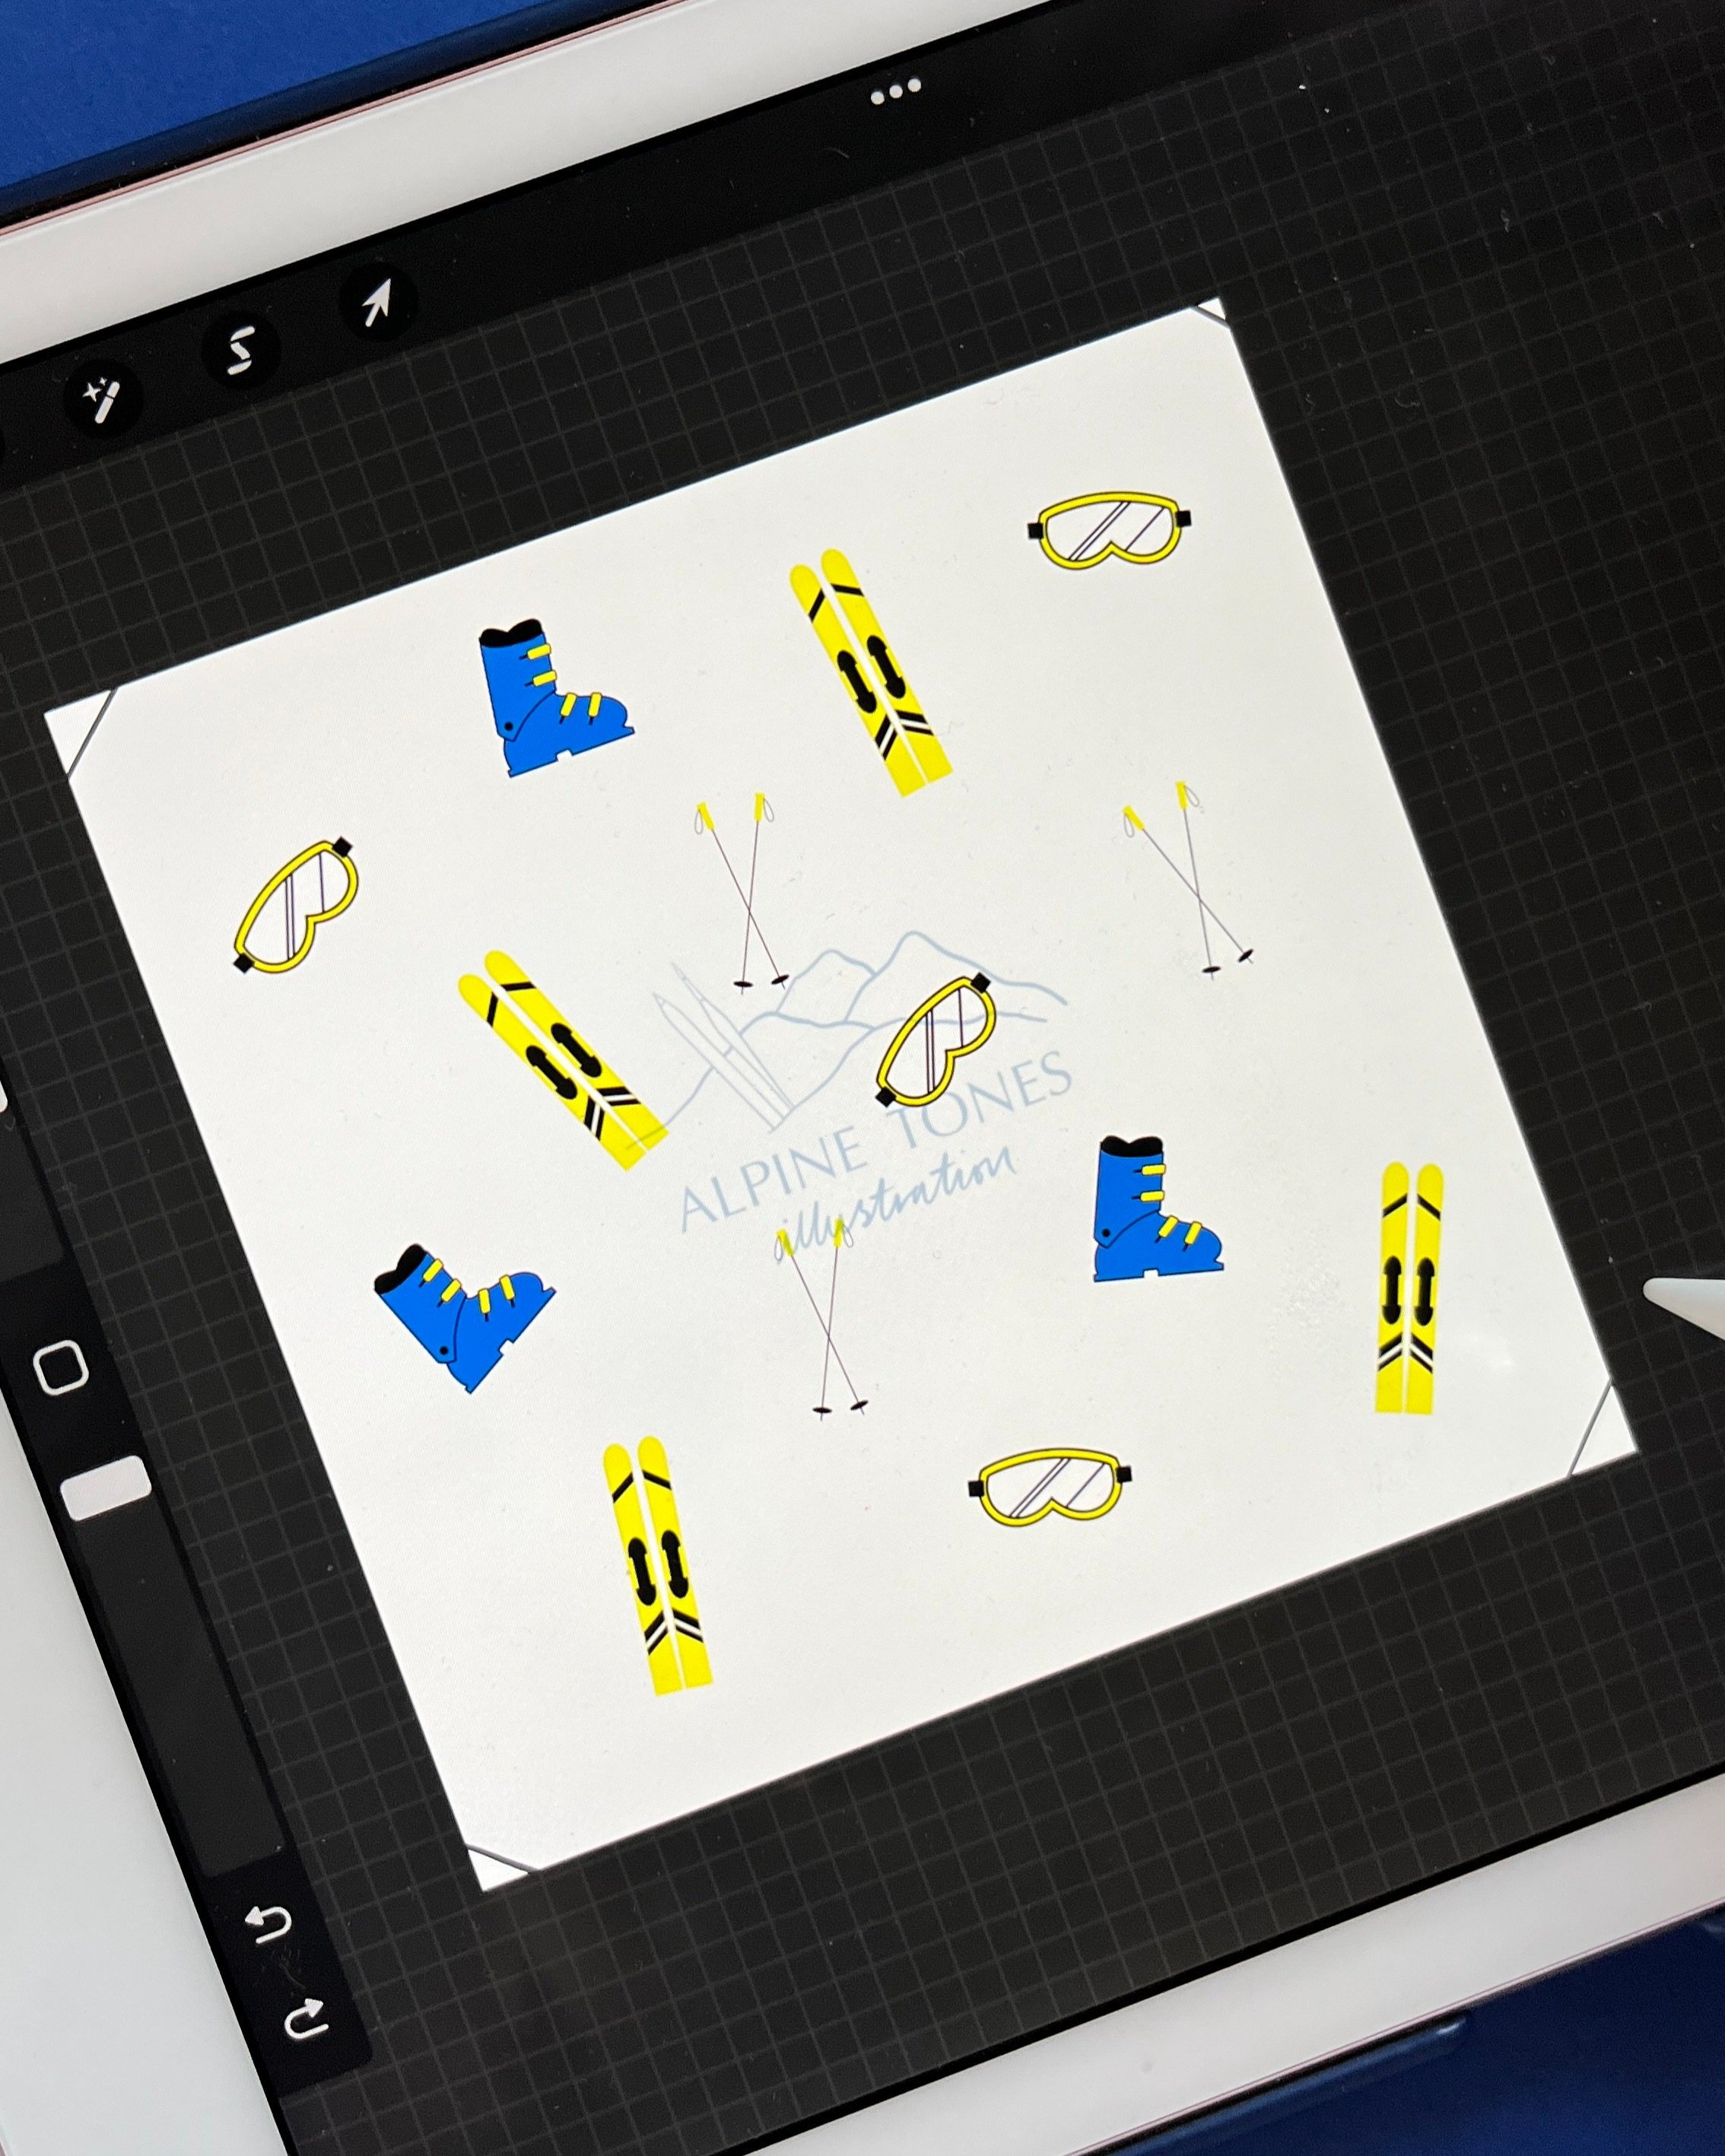
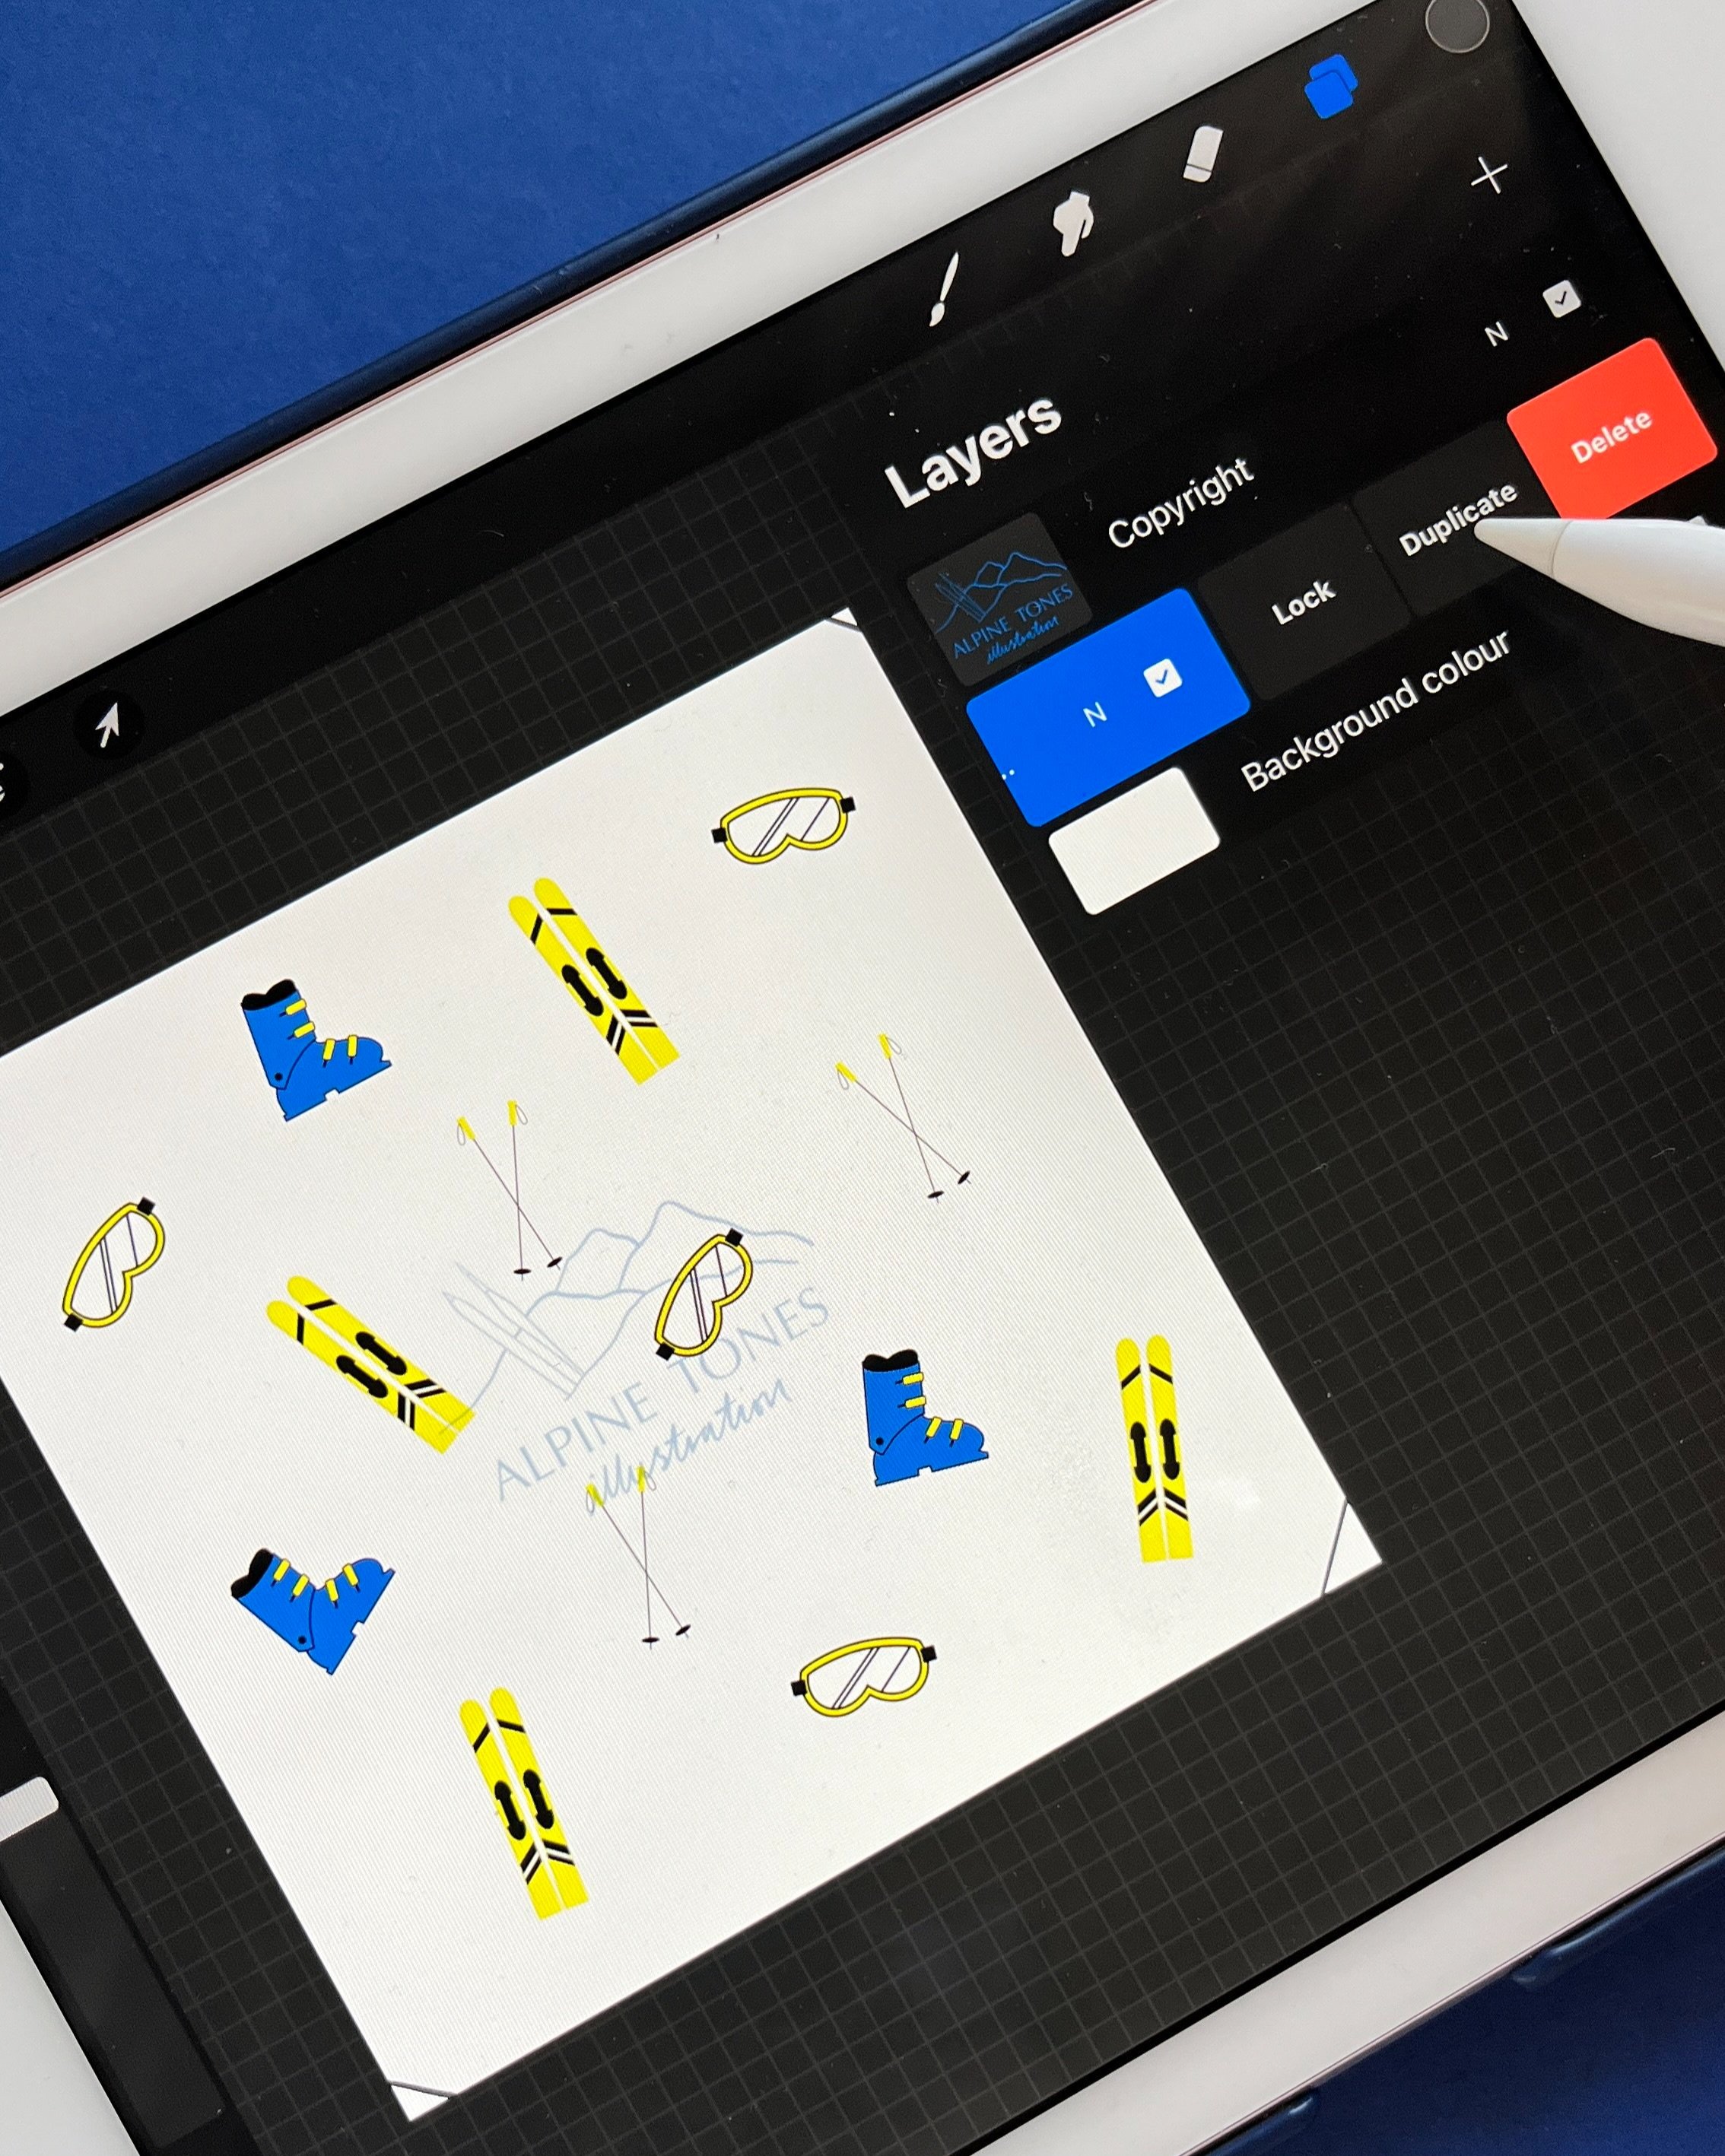
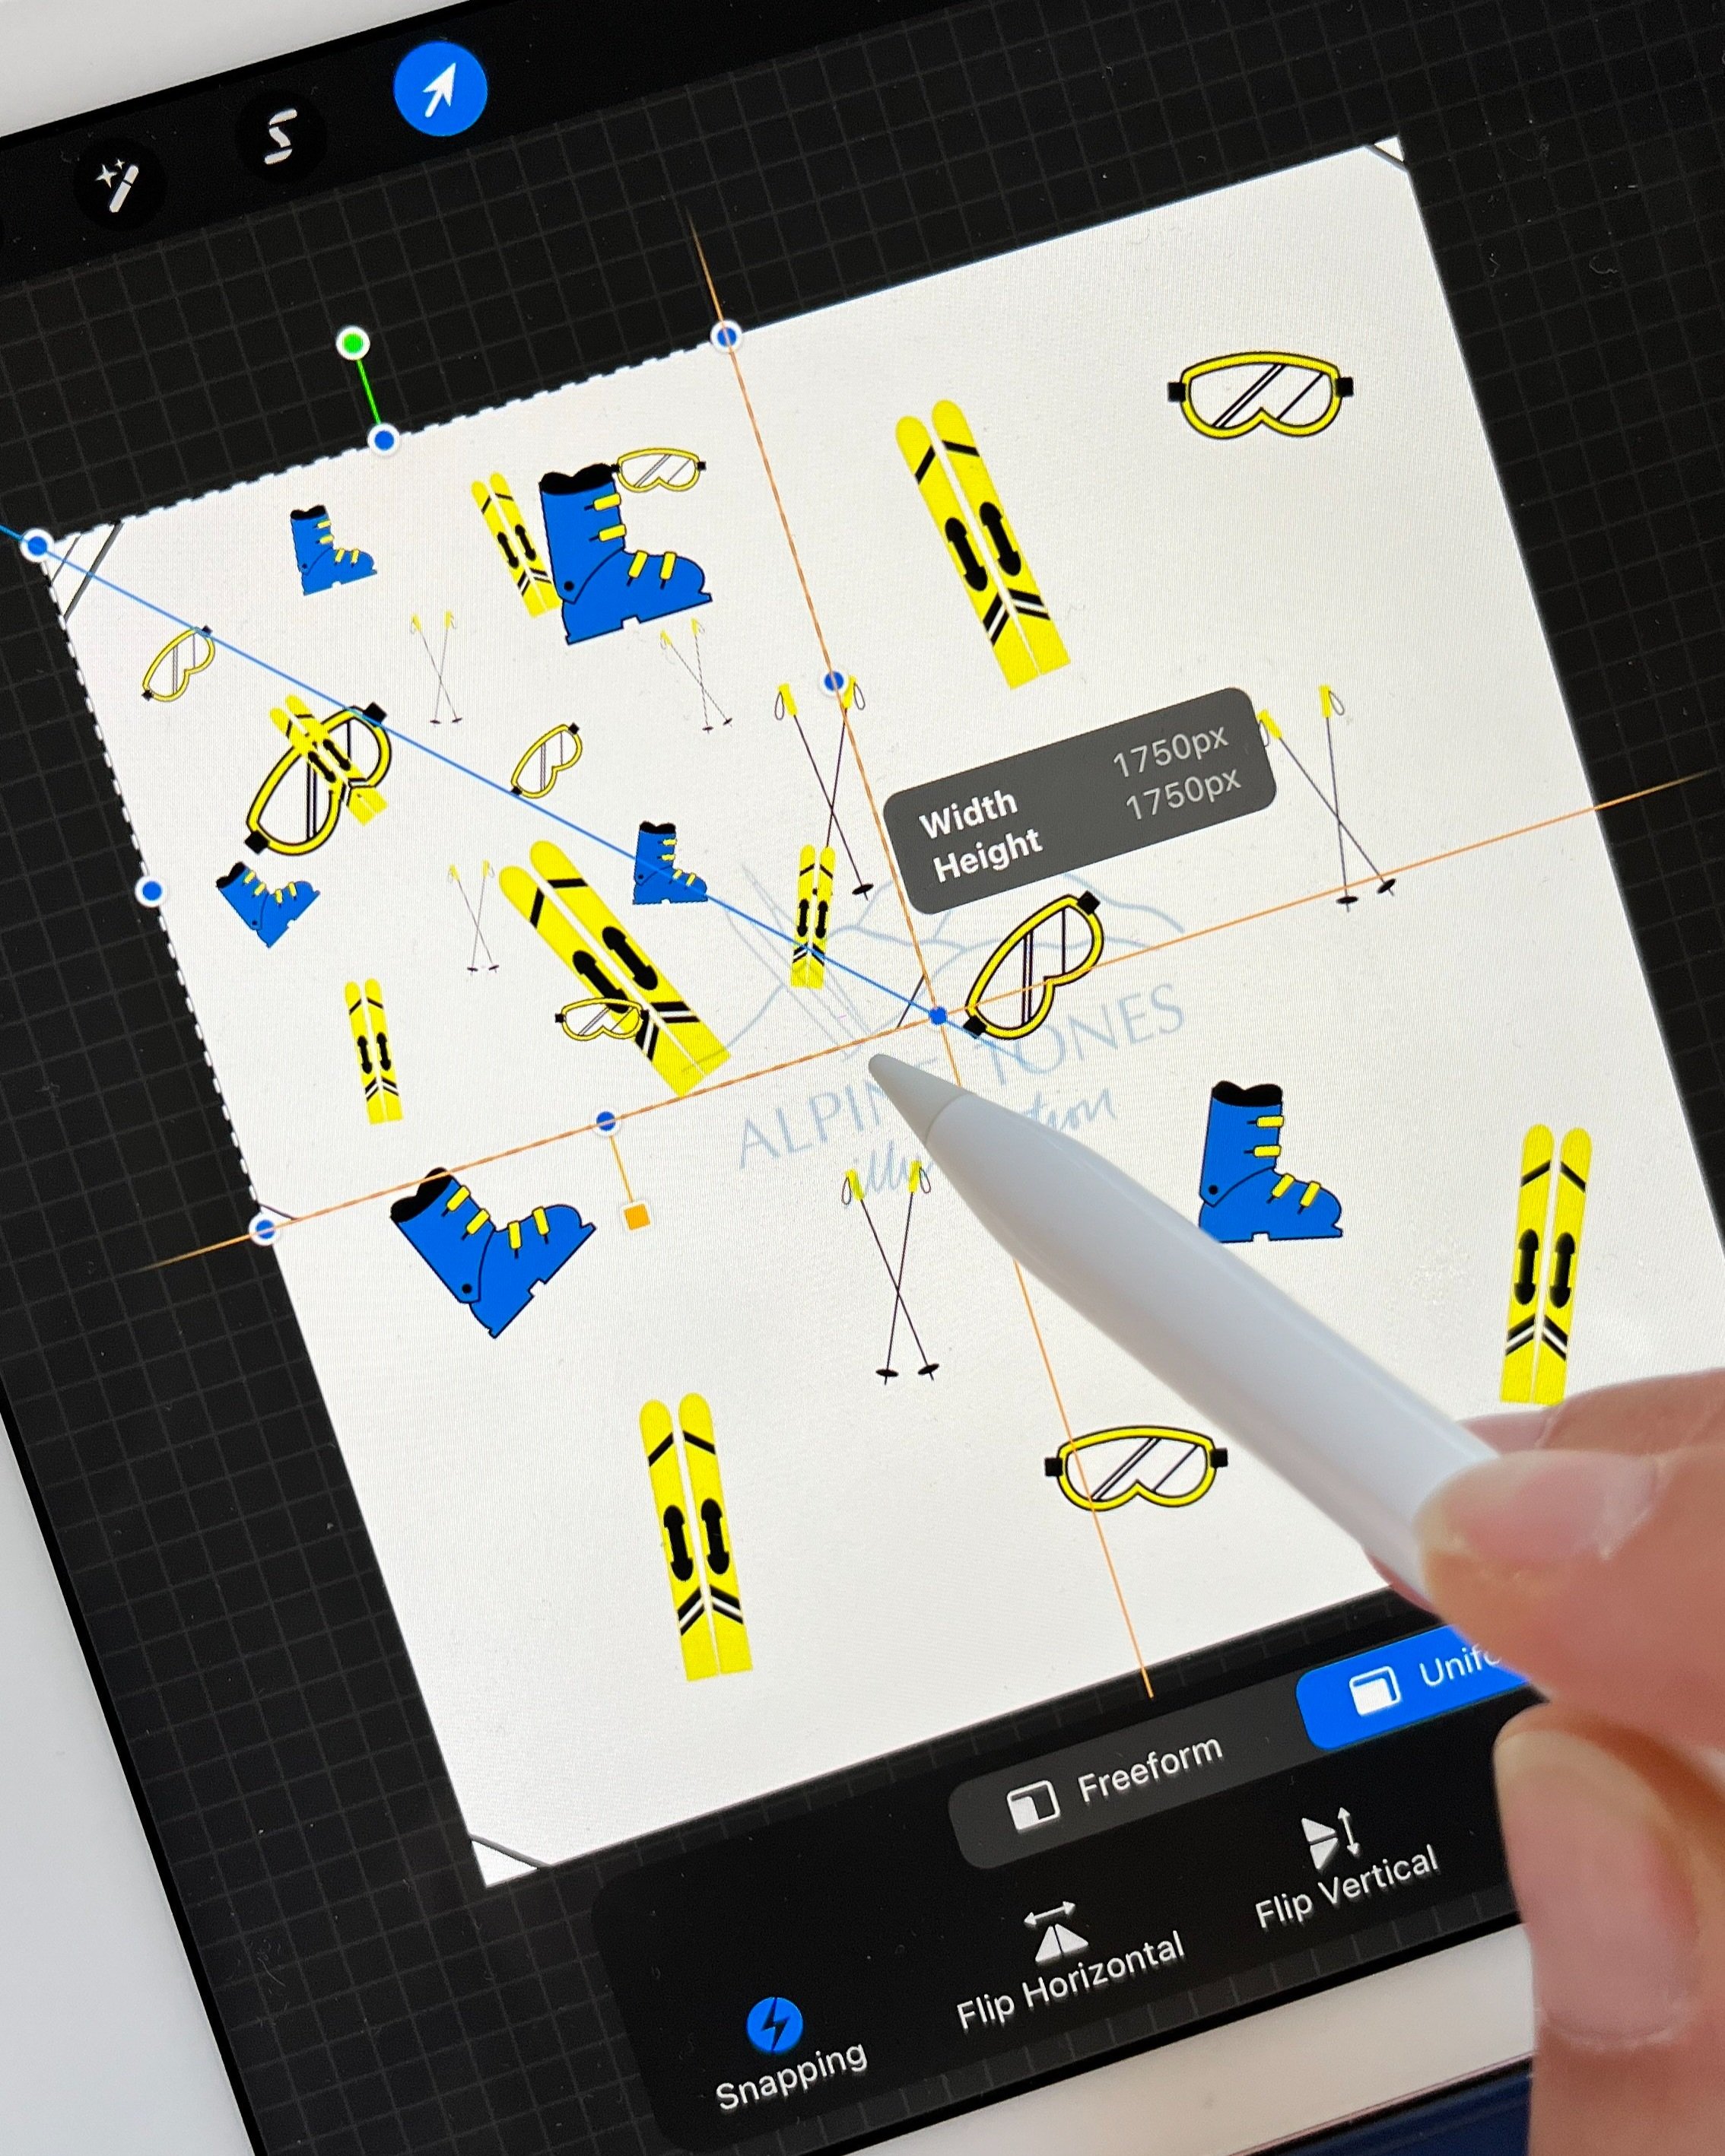
This is much like the traditional paper method. Draw your design on a single layer, then duplicate the layer so that you have four of the same. Before duplicating the layer, make sure you have sketched a line in each corner (you’ll erase them later), or the layer won’t be square and the snapping & reducing won’t work. Then, with the snapping tool on, reduce them to fit in each of the four corners of the canvas. You can then fill in any of the spaces with extra illustrations as you did with the paper technique.
The drawing guide method:
For this, turn on the drawing guide and adjust the size so that you have a square tilted at 45 degrees laid over your square canvas. Draw your design within that square. This time you will duplicate the layers so you have five, and move four of them using the snapping tool so that their original outside corners are in the middle. As with the reduction method, make sure you have sketched a line in each of the corners of before duplicating the layer.
When I first began using Procreate I used the first method, but it does mean you have to shrink your design whilst creating it. Since discovering the second way to create repeat patterns, it is now my preferred method. Not only does the design remain the same size from start to finish, you can also go over the edges of the grid so that your final design looks less box like and requires less fiddling with to look just right! ;)


Using both paper and Procreate to create a repeat pattern
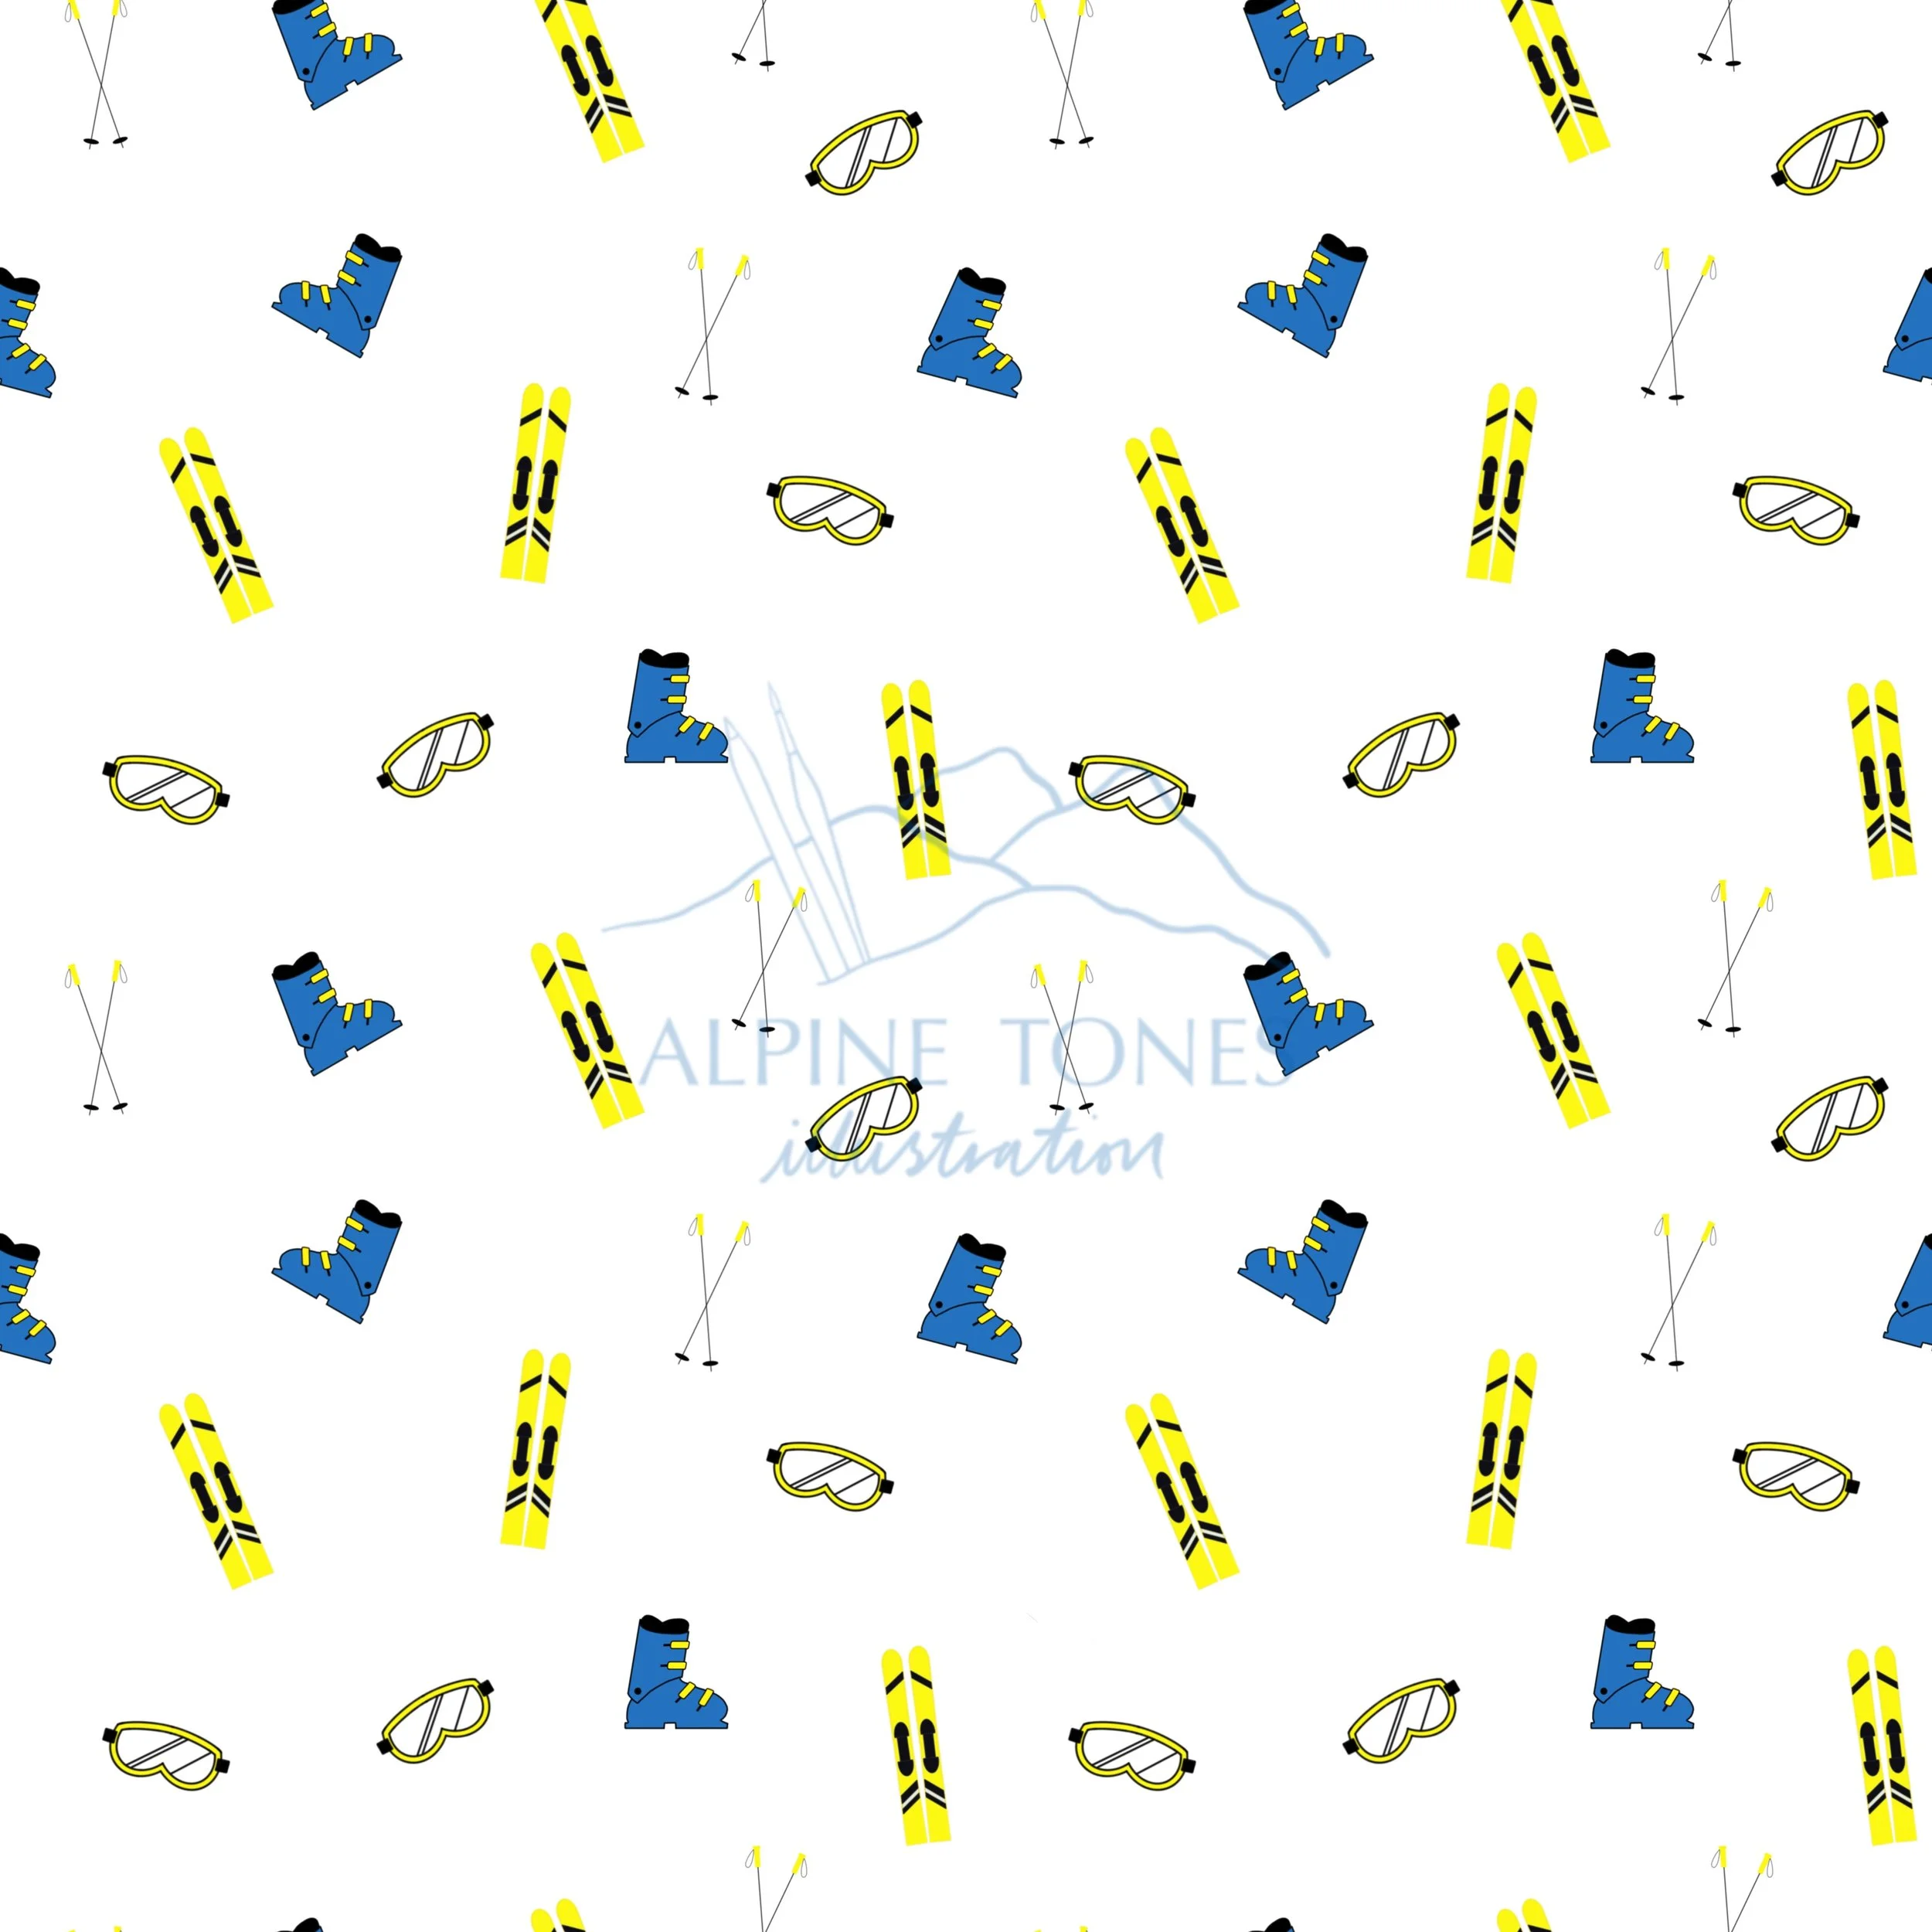
As mentioned, many of my patterns began as watercolour paintings on paper. For these I scanned the paintings and uploaded them into Procreate using the add image tool. They were then cropped and colour edited. Once happy with the each individual illustration, or motif, I then began placing them and duplicating them on screen into a repeat pattern using one of the Procreate methods above. The joy of this method is that you can tinker with the placement of each motif until you are happy with the final pattern.


Creating repeat patterns is a way for me to explore my creativity, create wearable art and to reach more of you. I would love to see what you create using this mini tutorial, do tag me on Instagram @alpinetonesillustration to share your patterns with me.
If you’d like to leave the creative process to me, why not commission your own surface pattern?