Five things to sew with fabric swatches that you’ll actually use.
When I was deciding which company to use for fabric printing, I ordered several swatches to determine the quality.

Armed with fifteen 20cm x 20cm swatches, I had to decide what to do with them! I trawled Google’s search results for ideas as well as asking my Instagram followers for their ideas.
A lot of the project ideas I found online were for things I find a bit useless, old fashioned or childlike. Think fabric flowers, bracelets, phone cases and coasters.
Some other projects were great but needed much more fabric than a 20cm x 20cm square, or more materials. For example they’d be the perfect size for hot pan pads but you need some silver backed padding inside. (I made some over gloves a few years back and used silver backed padding inside them.)
So rather than you searching for ideas of useful things you actually want to make, I decided to write this post detailing them!
1. Visible Mending
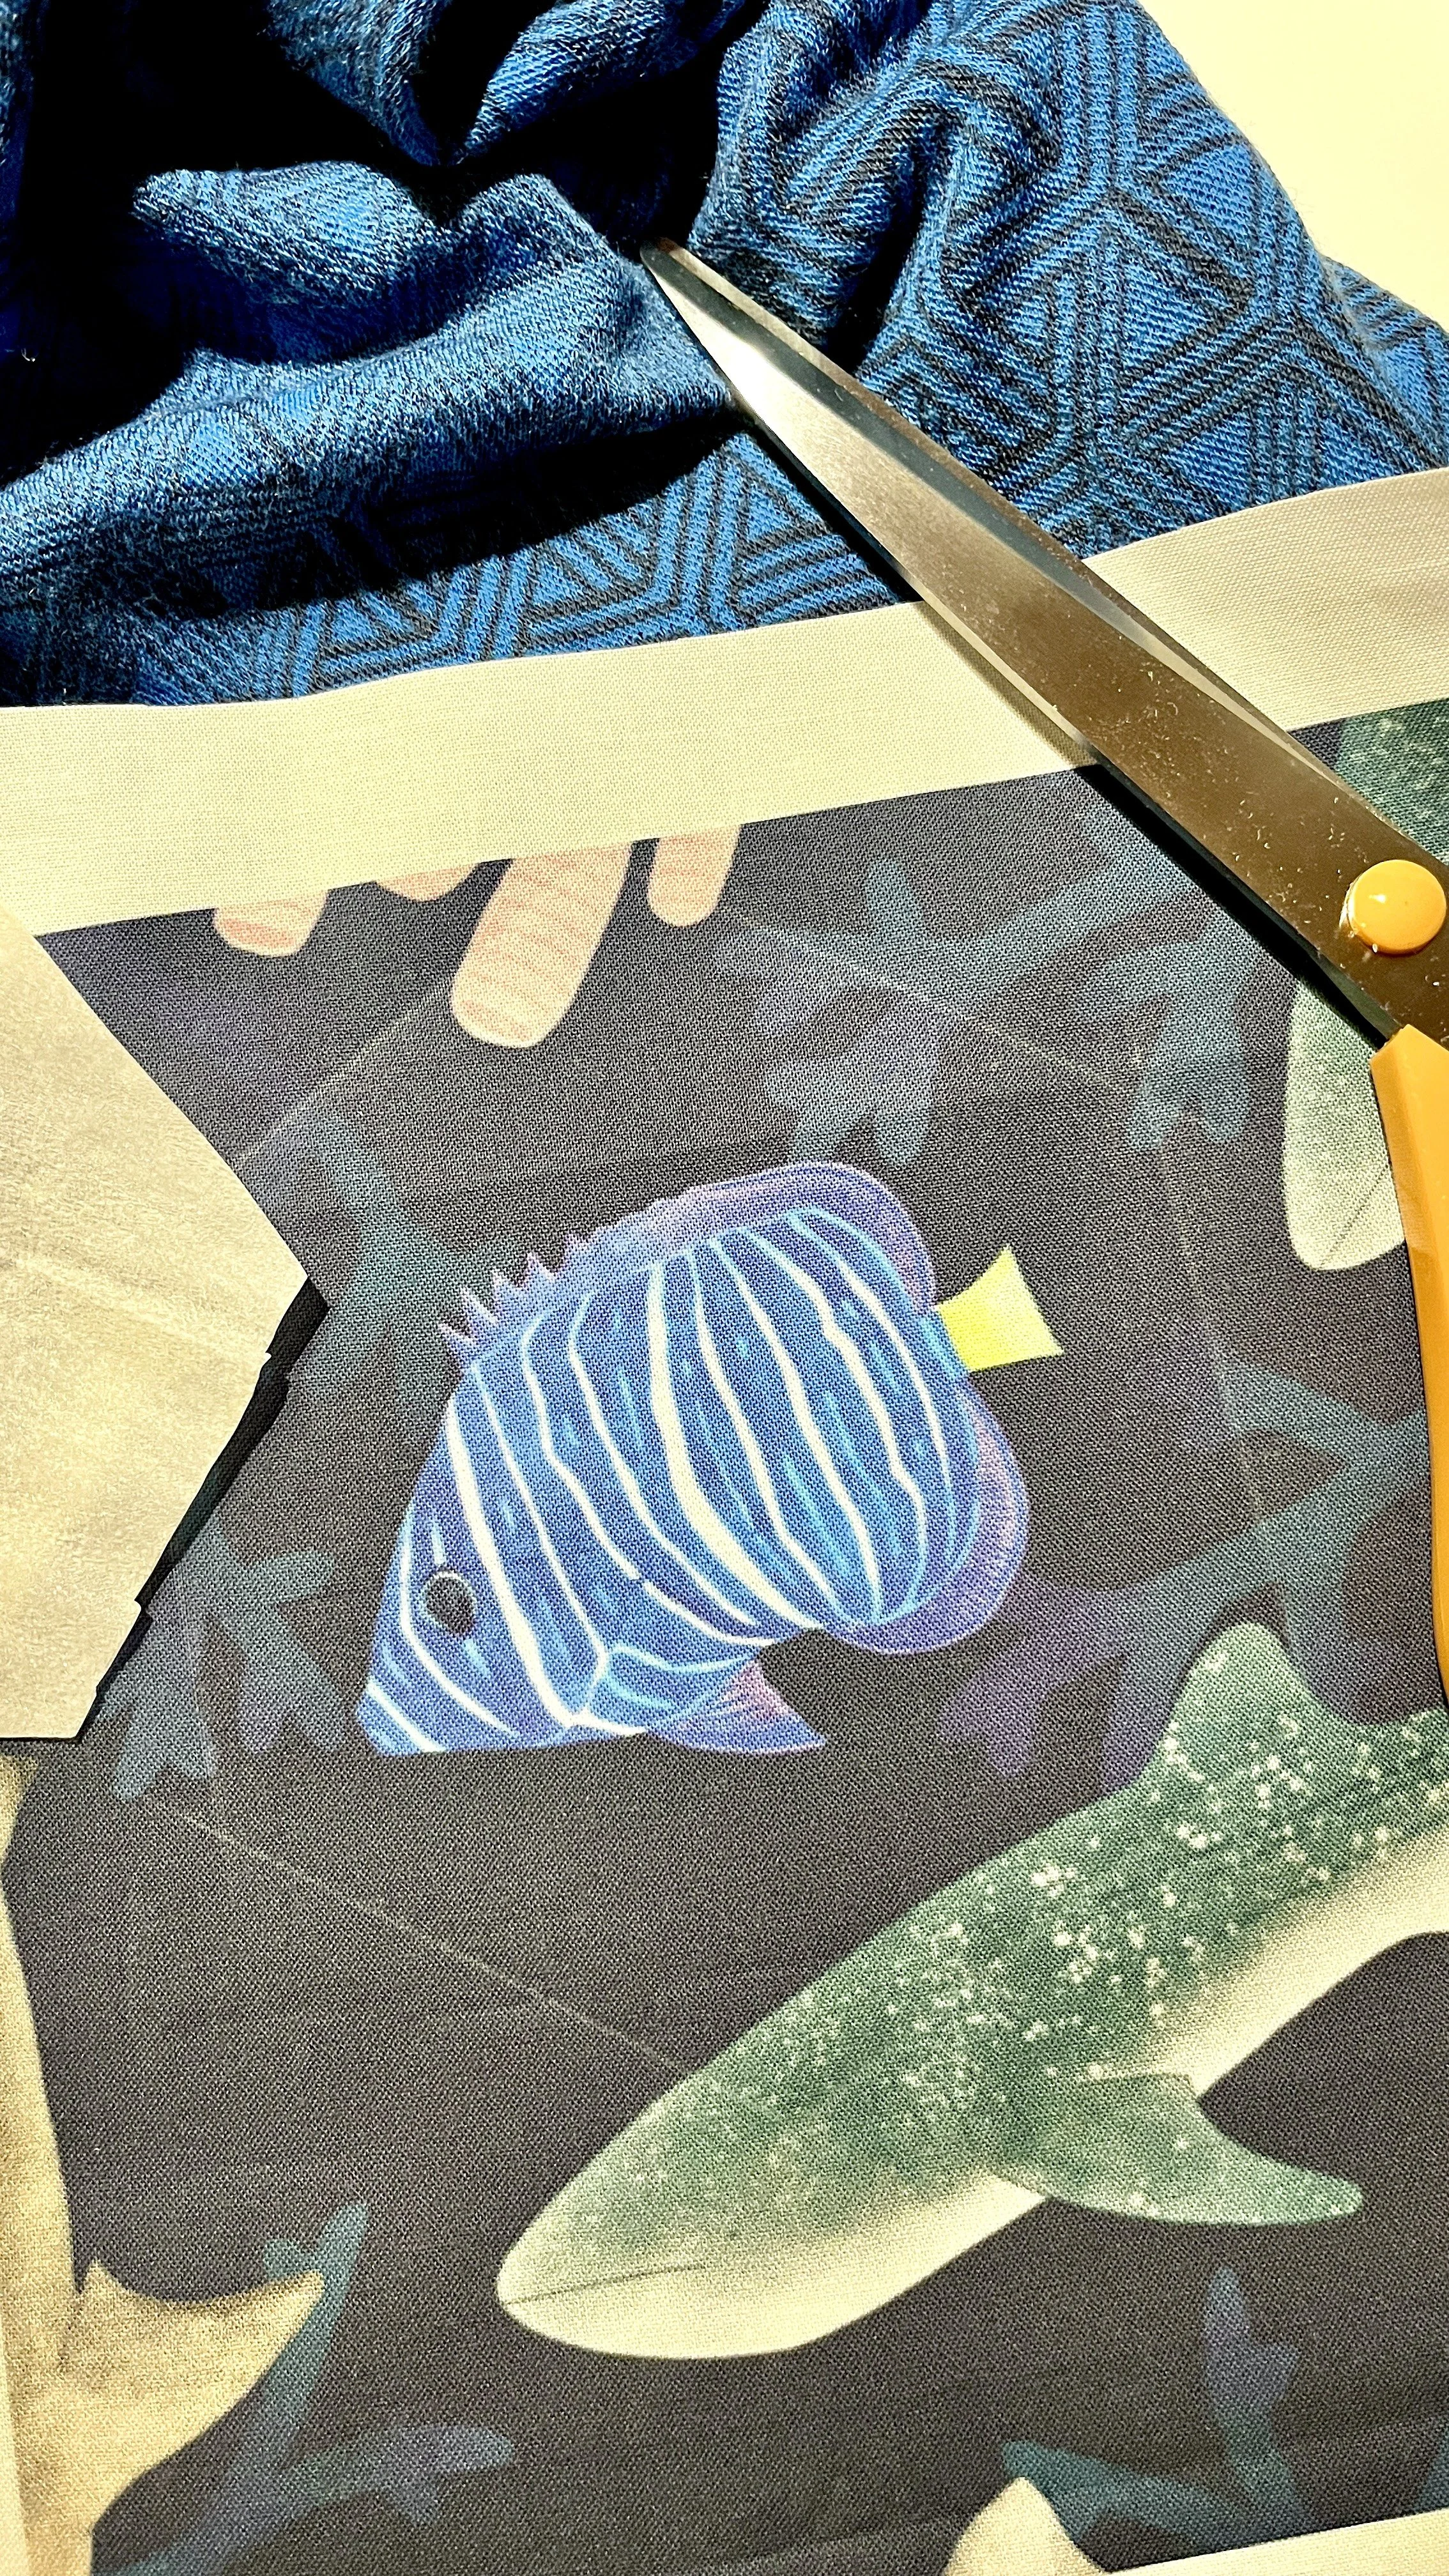
A lovely merino top had a few holes in the front which needed repairing. Darning it with some wool would have kept the looseness of the fabric, but as the colours of this swatch matched perfectly, I decided to do a very visible repair!
First I stitched back and forth across the holes to secure the fabric from tearing further. This repair wasn’t neat, I’ll admit, but you can only see it from the inside!

Then I folded and ironed the swatch into a hexagon shape to match the pattern on the top. To secure the swatch, particularly whilst stitching, I used to iron on adhesive to bind them together. In this case, it worked much better than pinning would have as the merino top is soft and supple whereas the 100% cotton swatch is stiff in comparison.
Lastly I stitched a thin line around the edge of the hexagon and tied off the ends on the inside.


Isn't this little angelfish the cutest addition?!
2. Scrunchies
Scrunchies and headbands have had a resurgence over the last few years - I should have kept all the ones I had as a child!
Scrunchies are also pretty easy to make so long as you don’t make them too small!
First take a long strip of fabric, fold it lengthways inside out and stitch along the open edge to make a tube.

Then turn the tube the right way round. Now this is fiddly but not too bad unless you make them too small (as previously mentioned). For this one I used a knitting needle to help as it was so skinny. (I don’t recommend this, it’ll hurt your fingers!)
Take a length of elastic and thread it through your tube of fabric. Then sew the elastic together into a loop without stitching into the fabric.
For this I used flat elastic, about 5mm wide. The length you choose will depend on both how long your strip of fabric is and how many times you want to twist the scrunchie when you use it.
Then fold one end of the fabric tube in on itself by at centimetre or two so you have a nice clean edge. Then tuck the other end inside and sew across the tube widthways to secure everything in place.

Very cute but so fiddly I won’t be making this size again in a hurry!
The second time around I used some much larger scraps. Note for these ones I didn’t use the 20cm x 20cm swatches, but off cuts from sewing a pair of trousers. If you only have swatches, cut and sew them together into a longer strip.
The strips of fabric in the images below are about 60cm long and the elastic in the finished scrunchies is about 20-25cm. (I didn’t write it down!)


3. Coin purses
I loved the idea of making coin purses so much that I used up most of my fabric swatches making these!
I’ve written a whole in depth post about how to make these, which you can read a few posts back on my blog.


4. Bunting/flags
I haven’t made any bunting or flags from my swatches as I got carried away and used them all up for coin purses, however this is something I’ll definitely do in the future.
I think some summery bunting would look great strung across a balcony or hedge next to a fresh salad laden table.
5. Framed artwork
And for the final project, one Instagram follower suggested simply framing the squares as artwork in itself - lovely!